And suddenly it was the end of July…
A few things have happened since my last post, the most significant of which is that Andy and I purchased a new house, and we have been busy ever since. Along with the new house came a ton of new project ideas, but I’m just starting to find time to get started on them. In the meantime, I do have a few older projects that I haven’t shared. The first is the birthday gift I made for our niece Clare, who turned 8 this past February. It was….
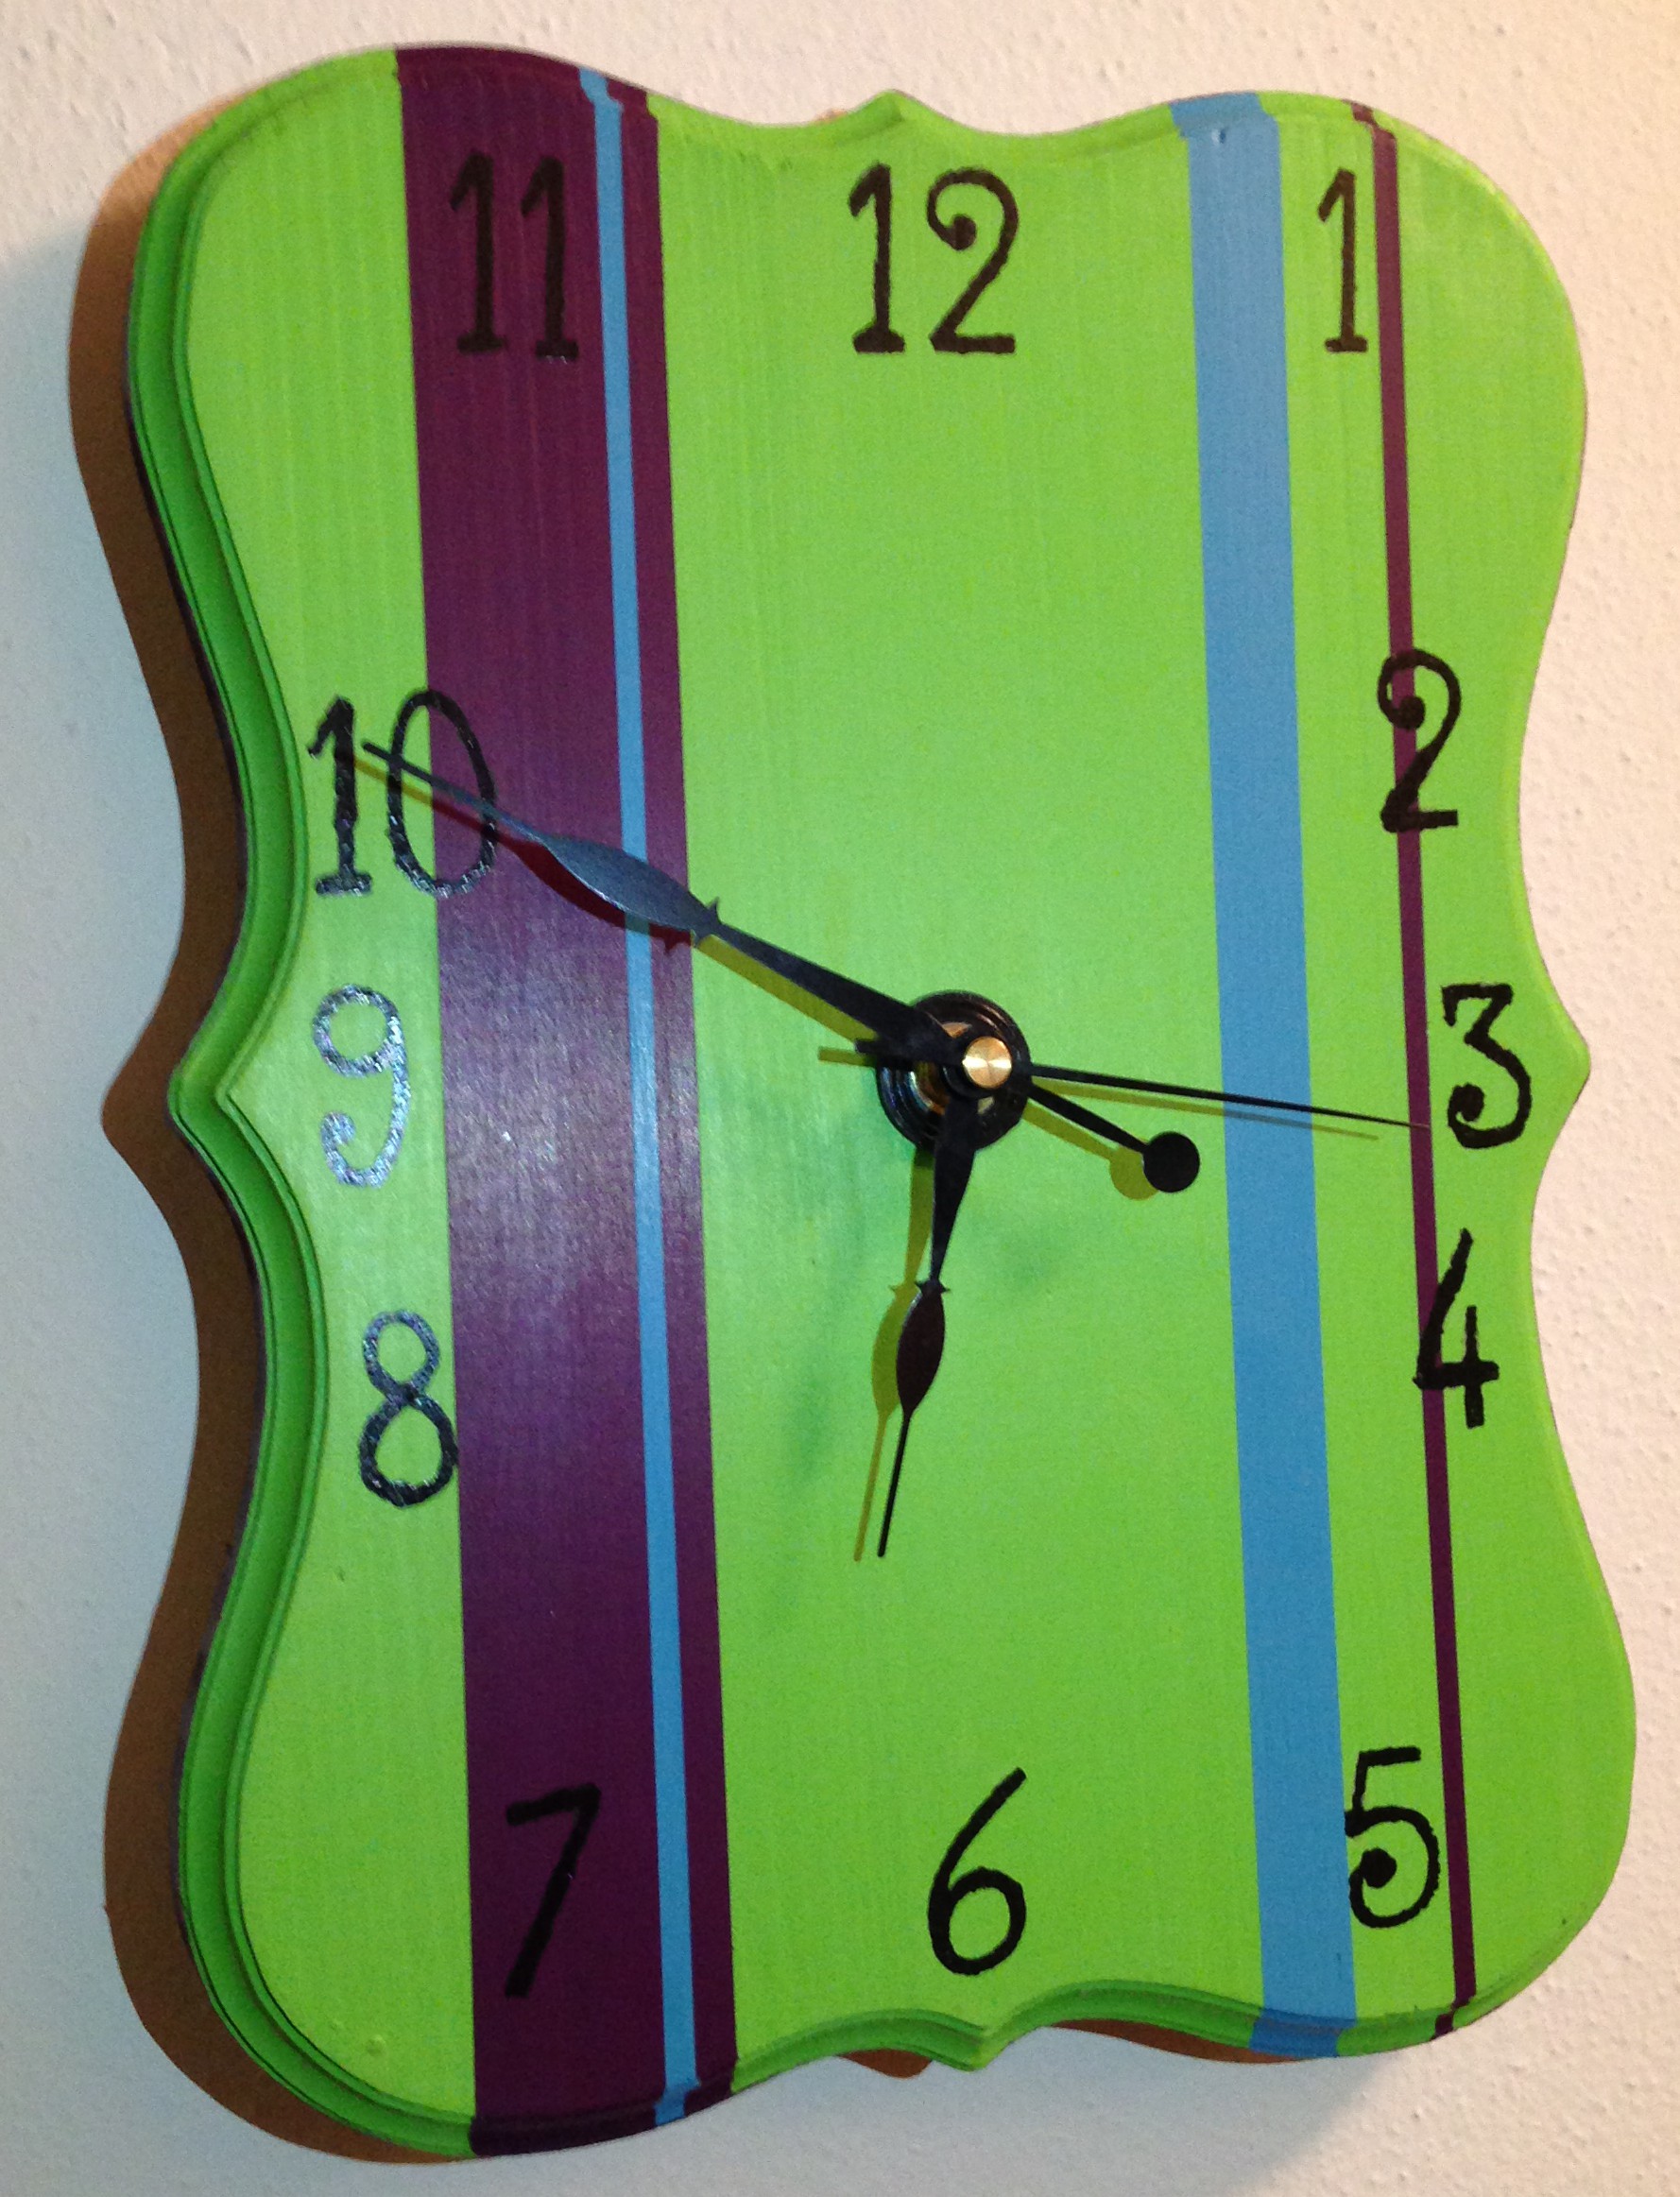
A clock!
Clare had actually included a clock on her Christmas list, but Santa must not have been up to the challenge, so I decided I’d give it a shot. I actually had never realized you could make your own clock until I read about a project over on Young House Love. It seemed simple enough, and I have a habit of just jumping right in with both feet, so it seemed like the perfect project for me.
One night after work I stopped at Michaels and picked up some supplies. I knew I’d use purple and green because they’re Clare’s favorite colors, and I thought a little blue in there would be fun, too. And I grabbed some black for the numbers. I actually used satin finish for the blue, purple, and green, and a glossy finish for the black, just for a little extra contrast. I also picked up a wooden plaque in a fun shape, number stencils, and a clock mechanism.
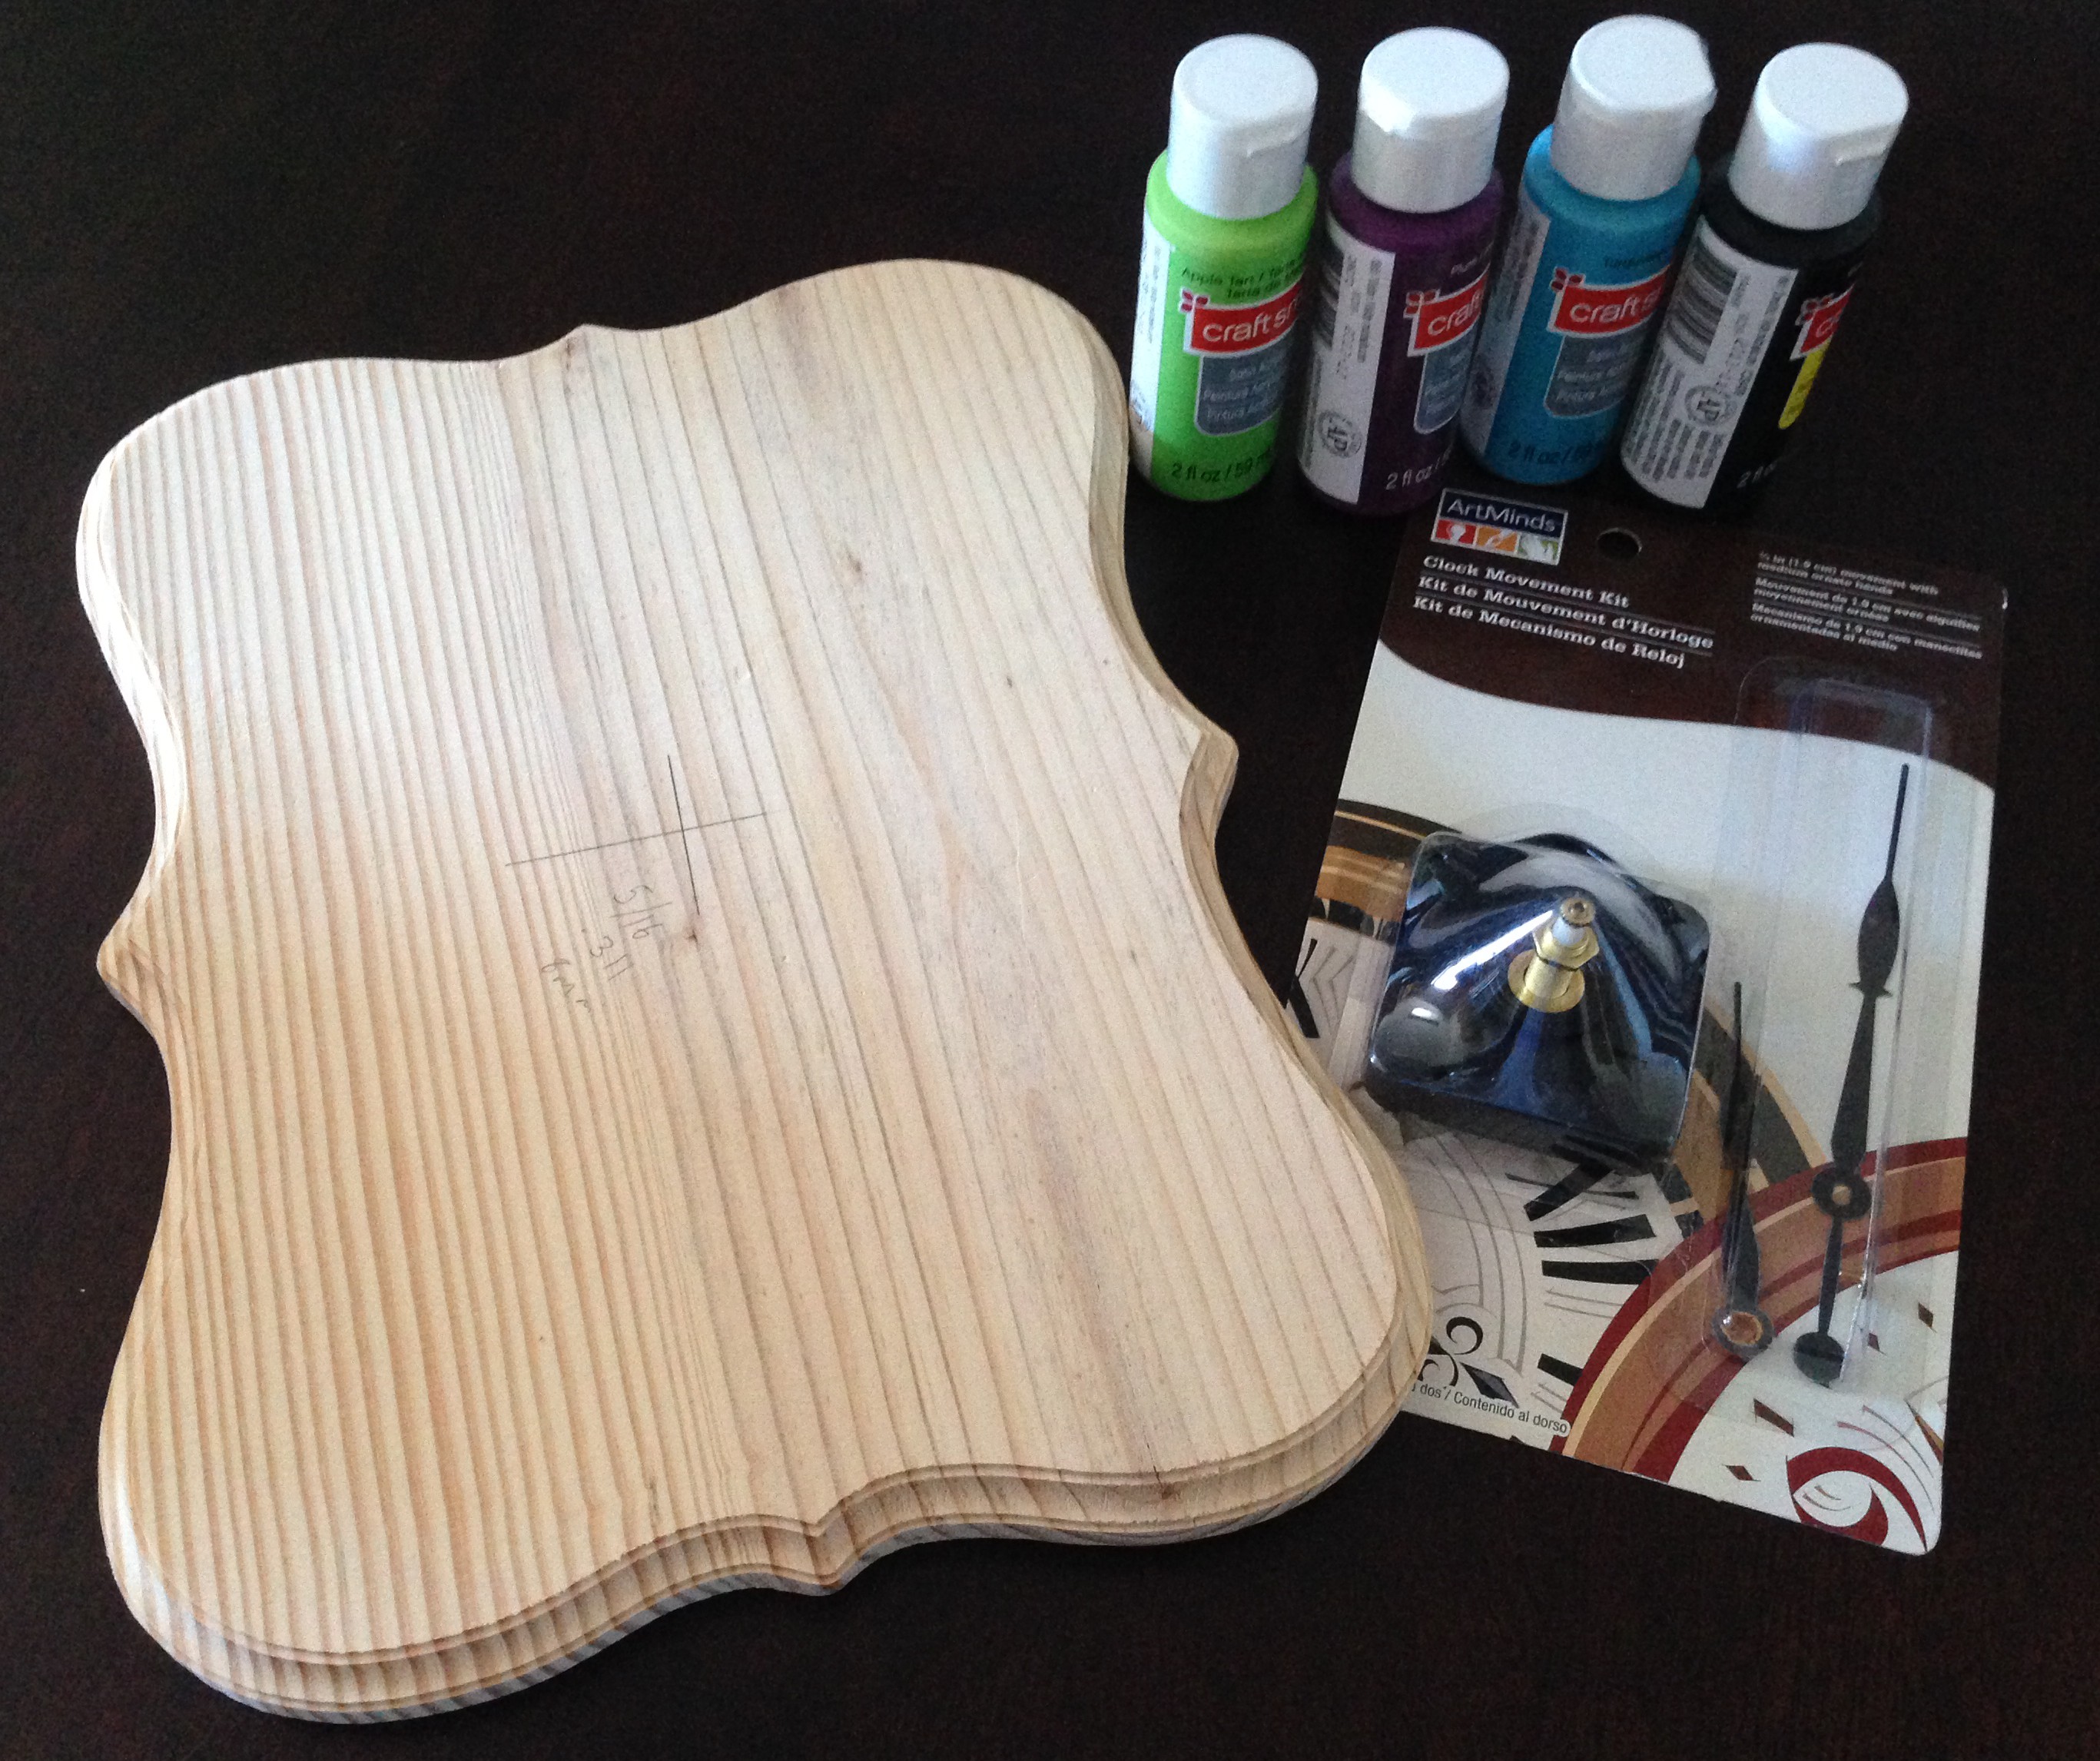
Not pictured: stencils
You can sort of make out where I marked the center in the picture above. That was where we drilled a hole for the clock mechanism to stick through. Well, even though the mechanism was for a 3/4″ piece of wood, and I had checked as best I could in the store, without a tape measure, it was too thick for the mechanism to stick all the way through. Luckily, Andy owns some wood chisels and came to my rescue.

We traced the part of the mechanism that hangs on the wall and holds the battery and then Andy began chiseling. He was being very careful about not cutting his hands, and he was successful. His left arm, unfortunately, was not so lucky. The picture below is post-arm chiseling and the subsequent patching up. We thank you for your sacrifice, left arm.

Clock-making is a dangerous business
Once we chiseled out enough of the back for the mechanism, I was able to start painting. I started by painting the whole thing green. I can’t remember how many coats it took to get decent coverage, but I think it was about 3 or 4.
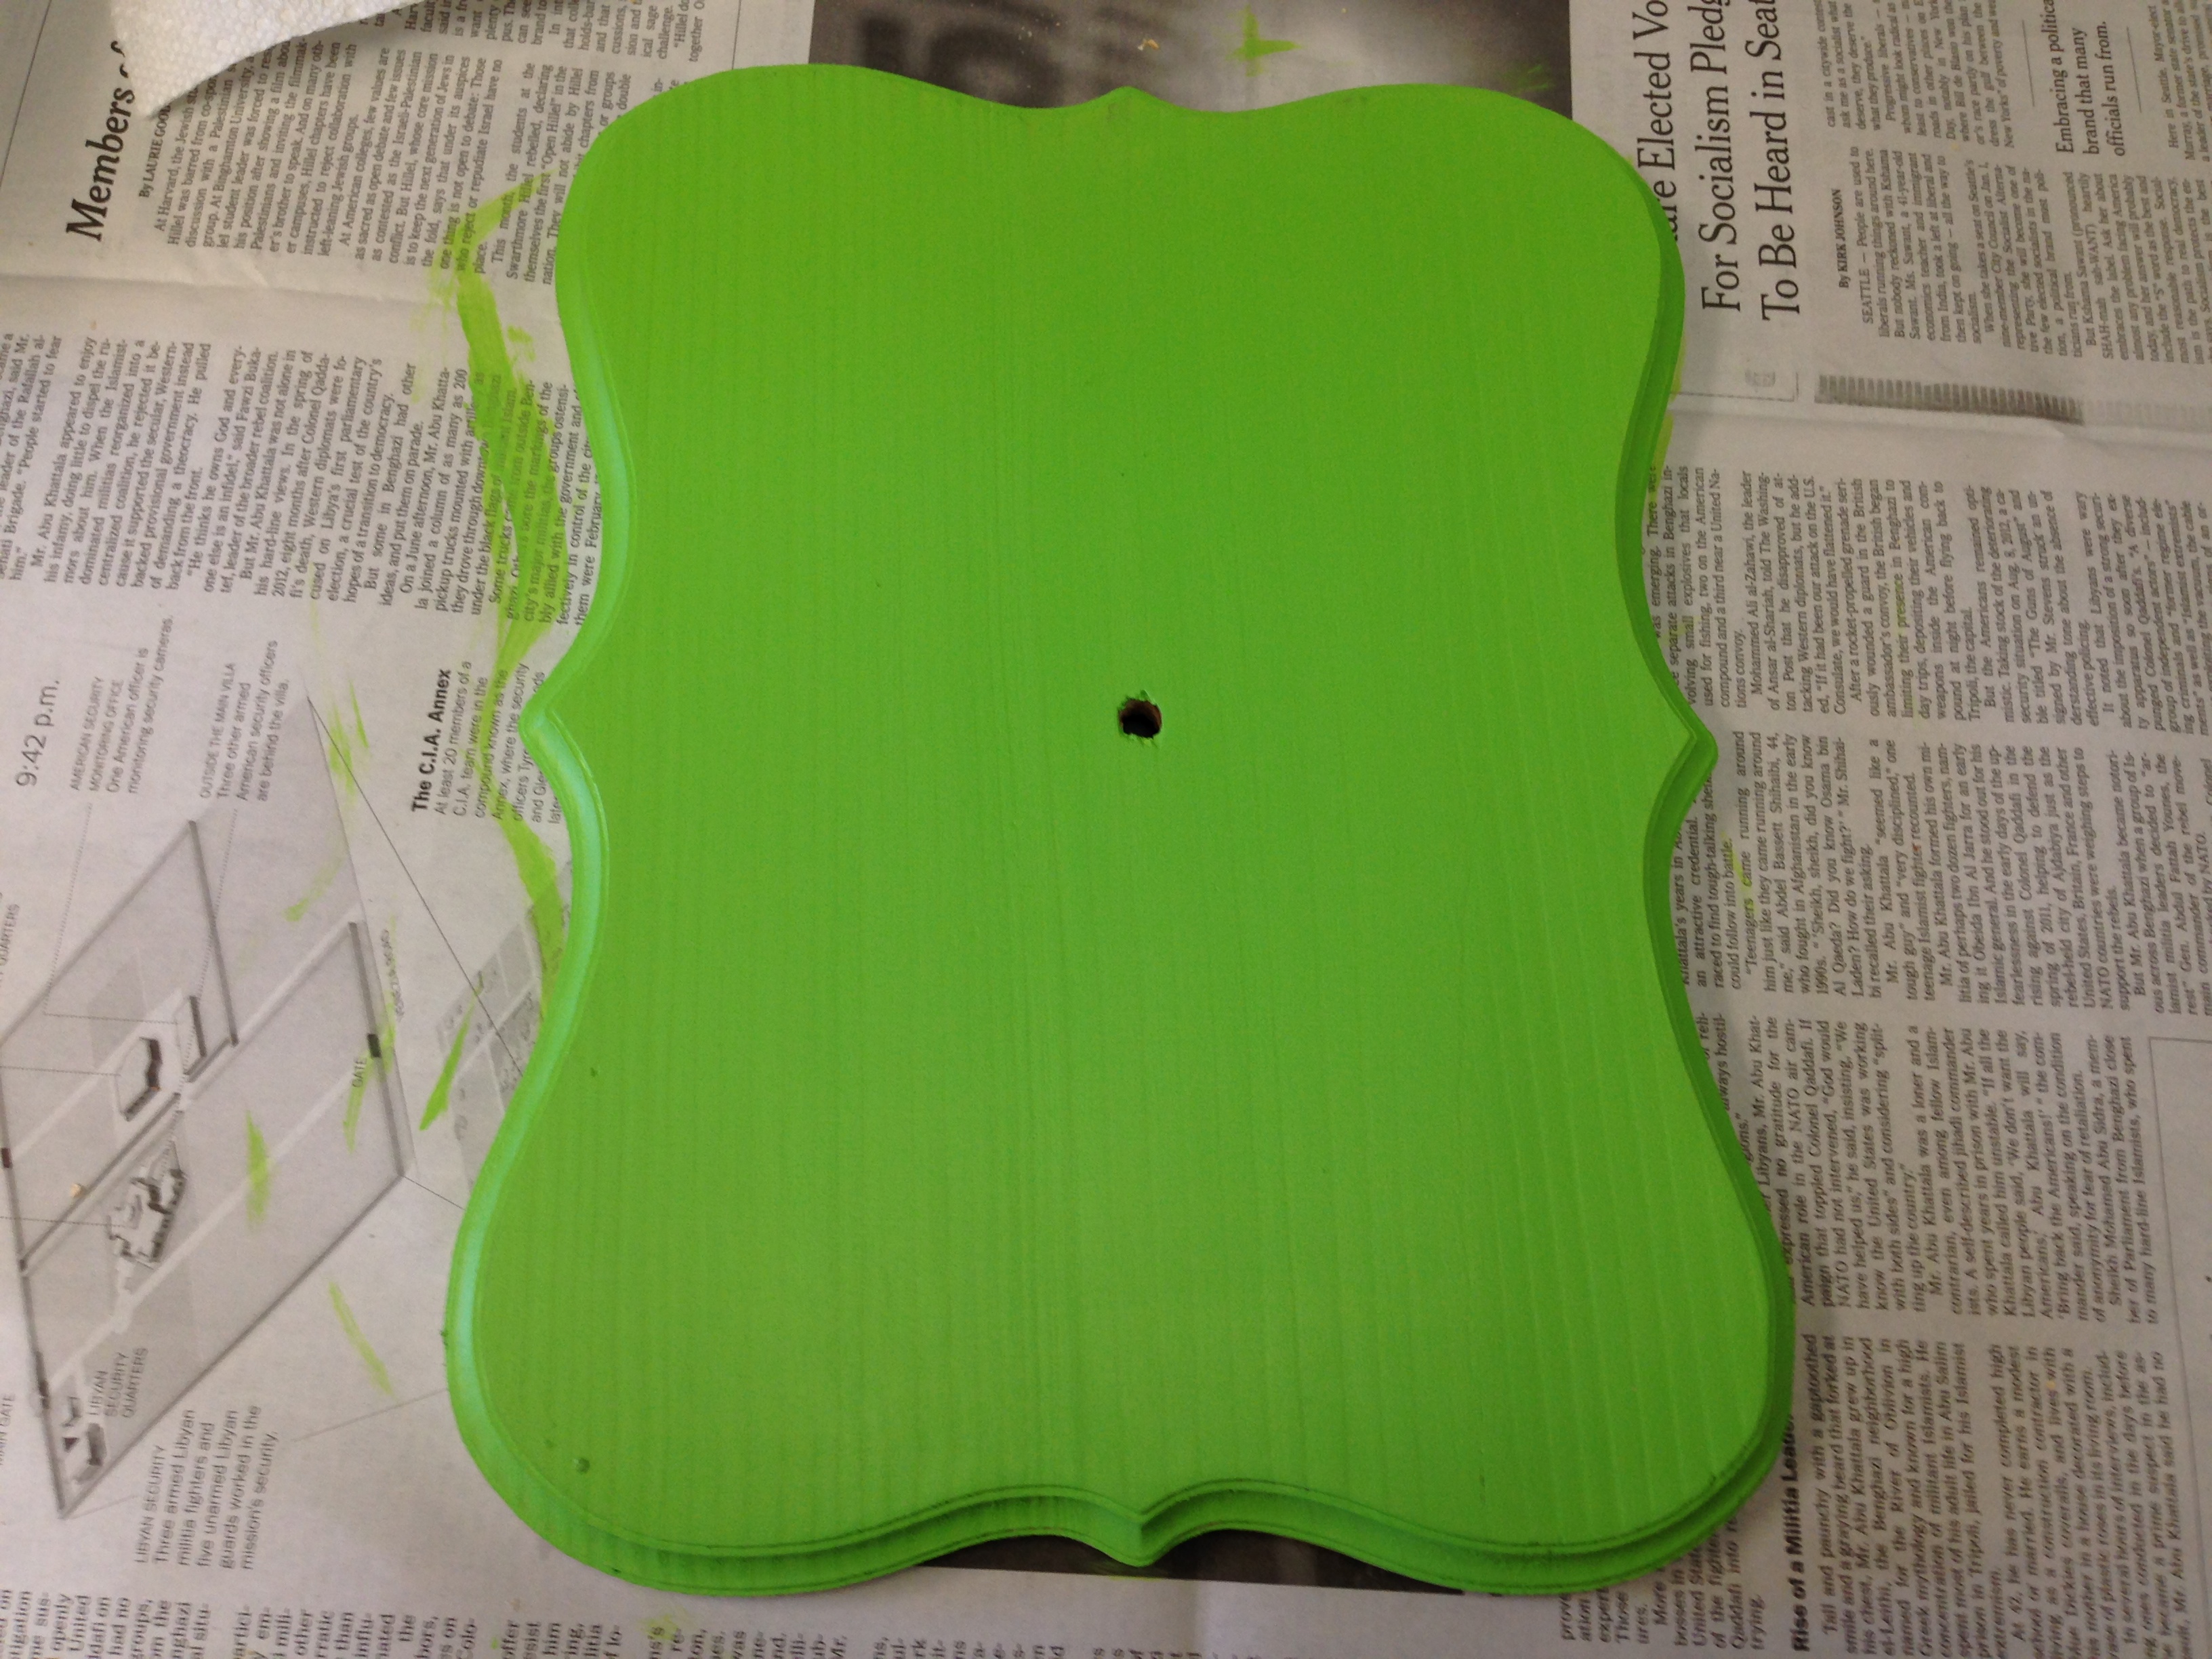
It’s not easy being green
Then I used some painters tape to make some stripes.

It took a few coats of purple to get a nice, solid coverage over the green. After the last coat of purple, I removed the tape (while the paint was still wet) and let it dry for at least 24 hours. Then I taped out a couple of stripes for the blue lines. Unfortunately, I forgot to take pictures of that step, but here is the after shot.

Then came the tricky part. The disadvantage of using an odd shaped piece of wood is that laying out the numbers isn’t exactly simple. We ended up cutting out a 30/60/90 triangle out of cardstock to help. First I laid out the easy numbers, 12, 3, 6, and 9.
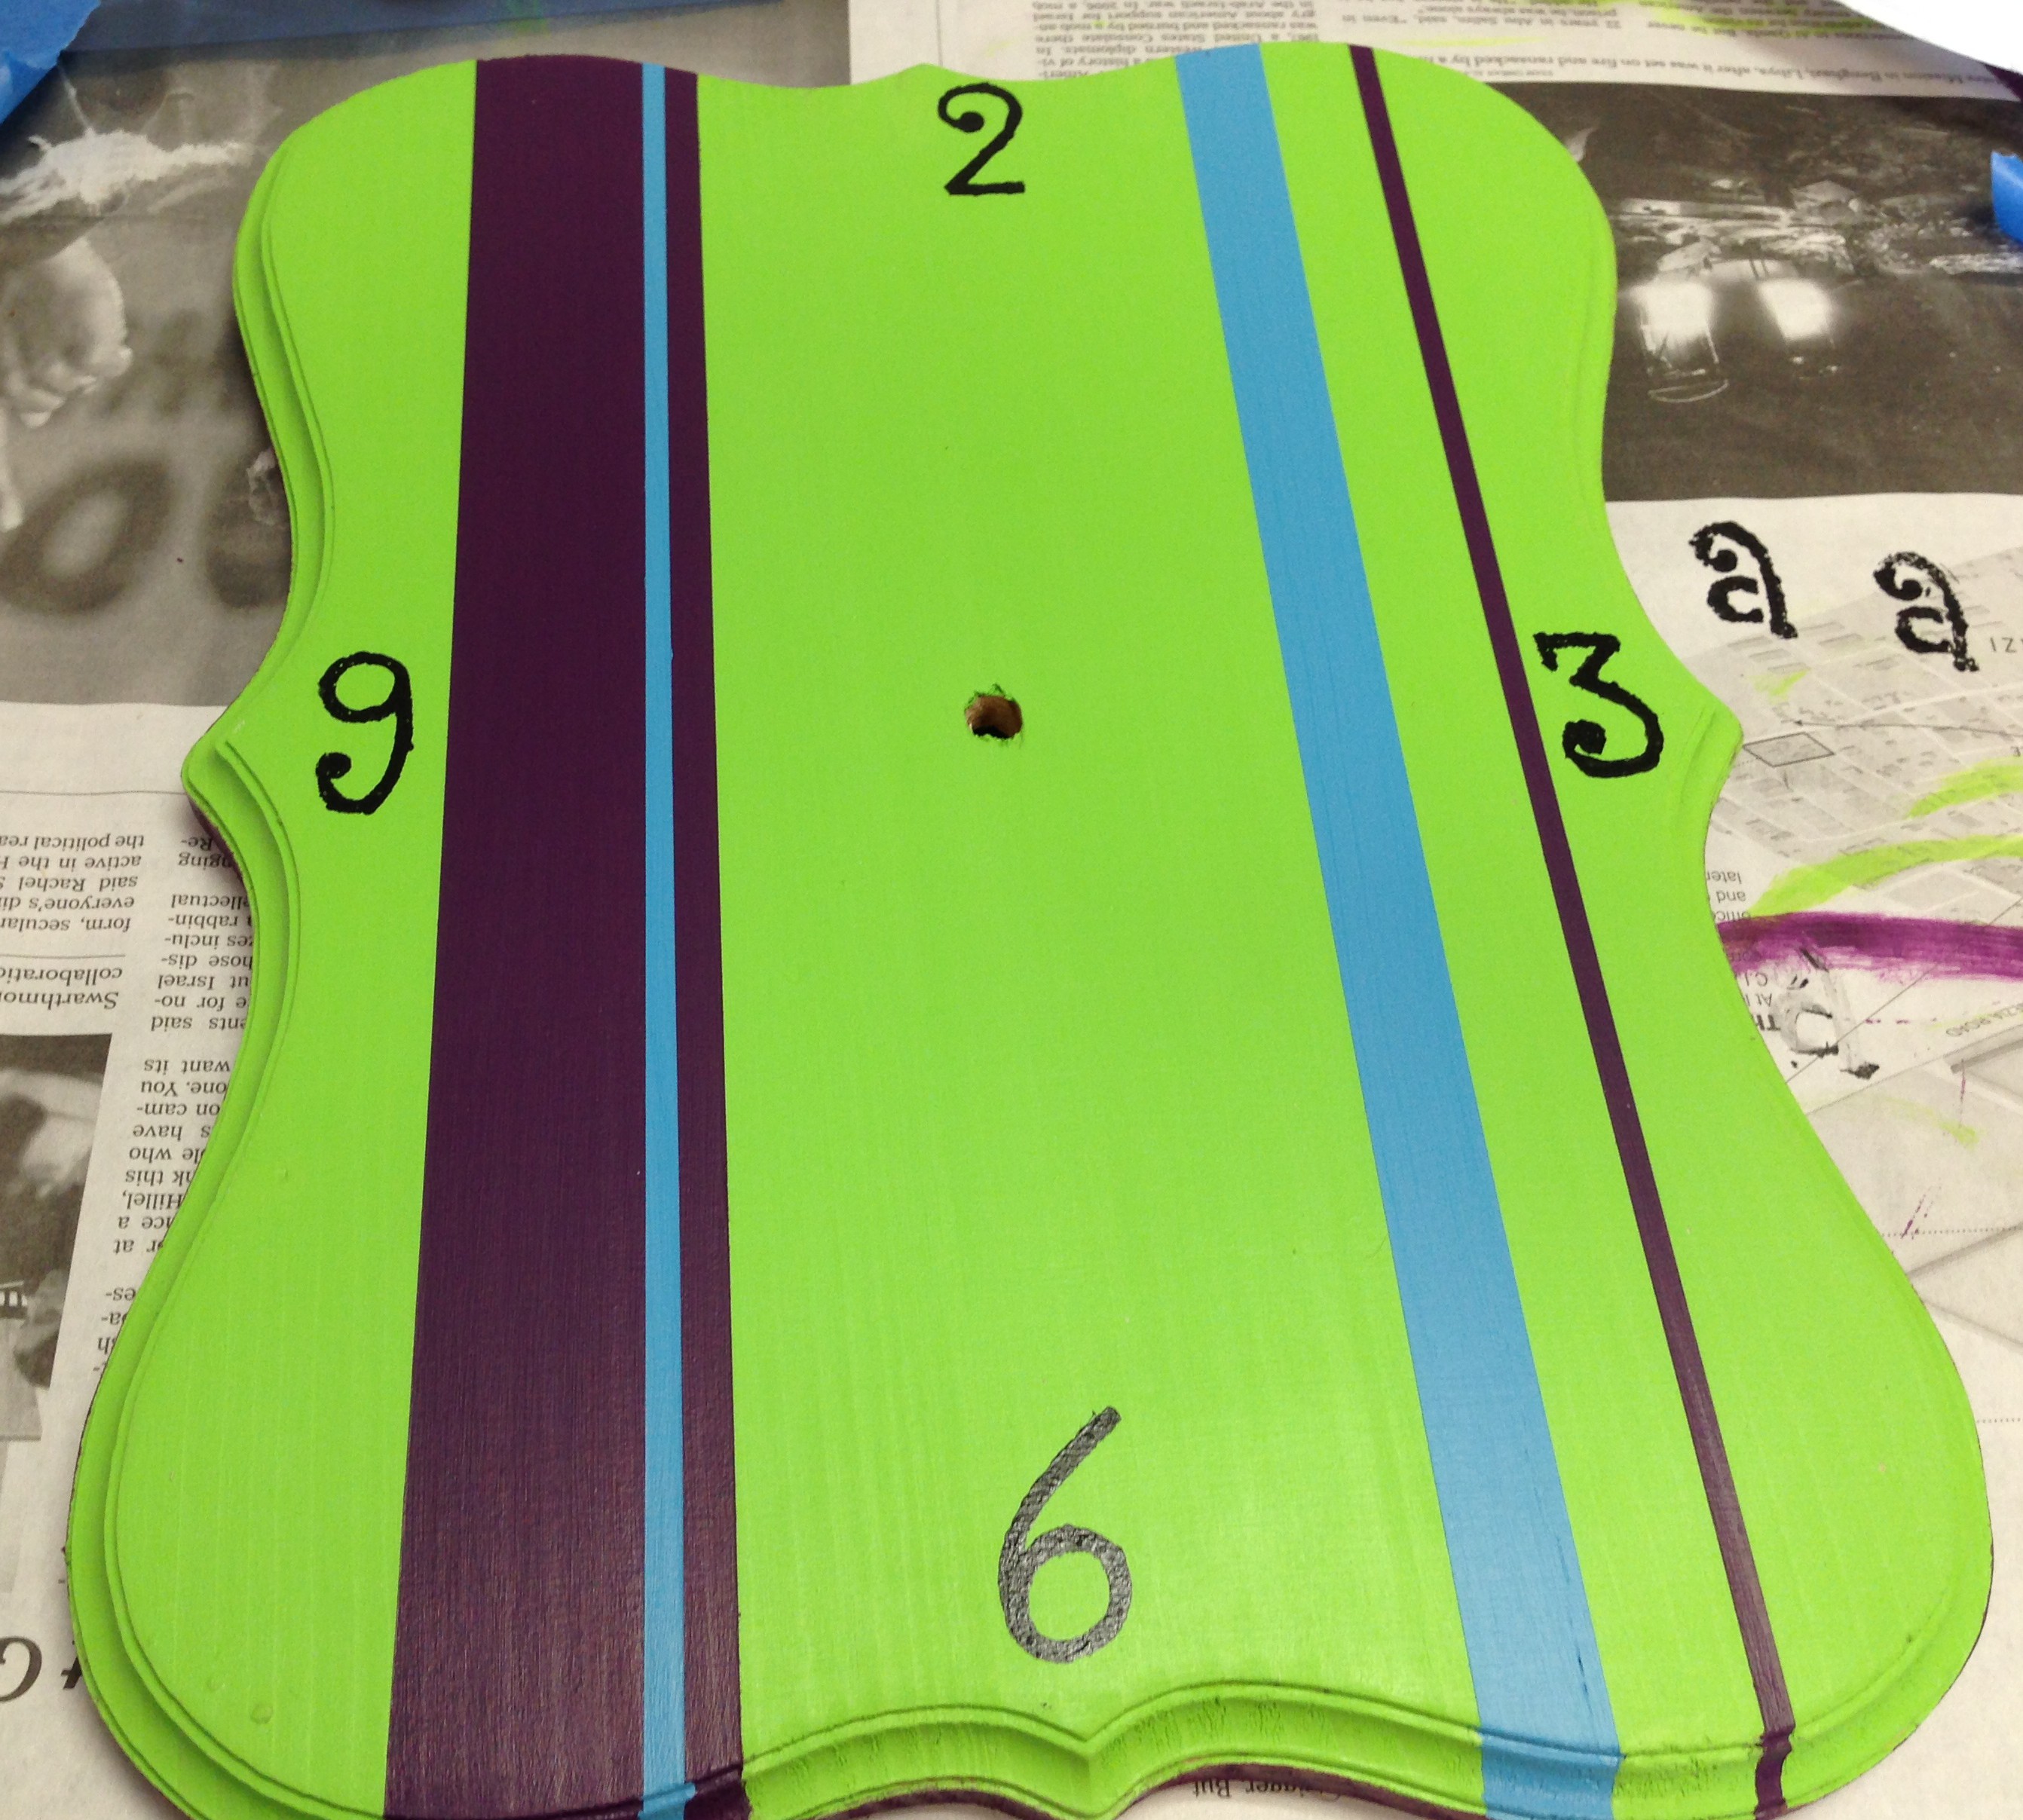
I promise I turned that 2 into a 12
Then I laid the triangle on the clock to locate my stencil for the other numbers, making sure they were located at 30 degree angles around the face of the clock.
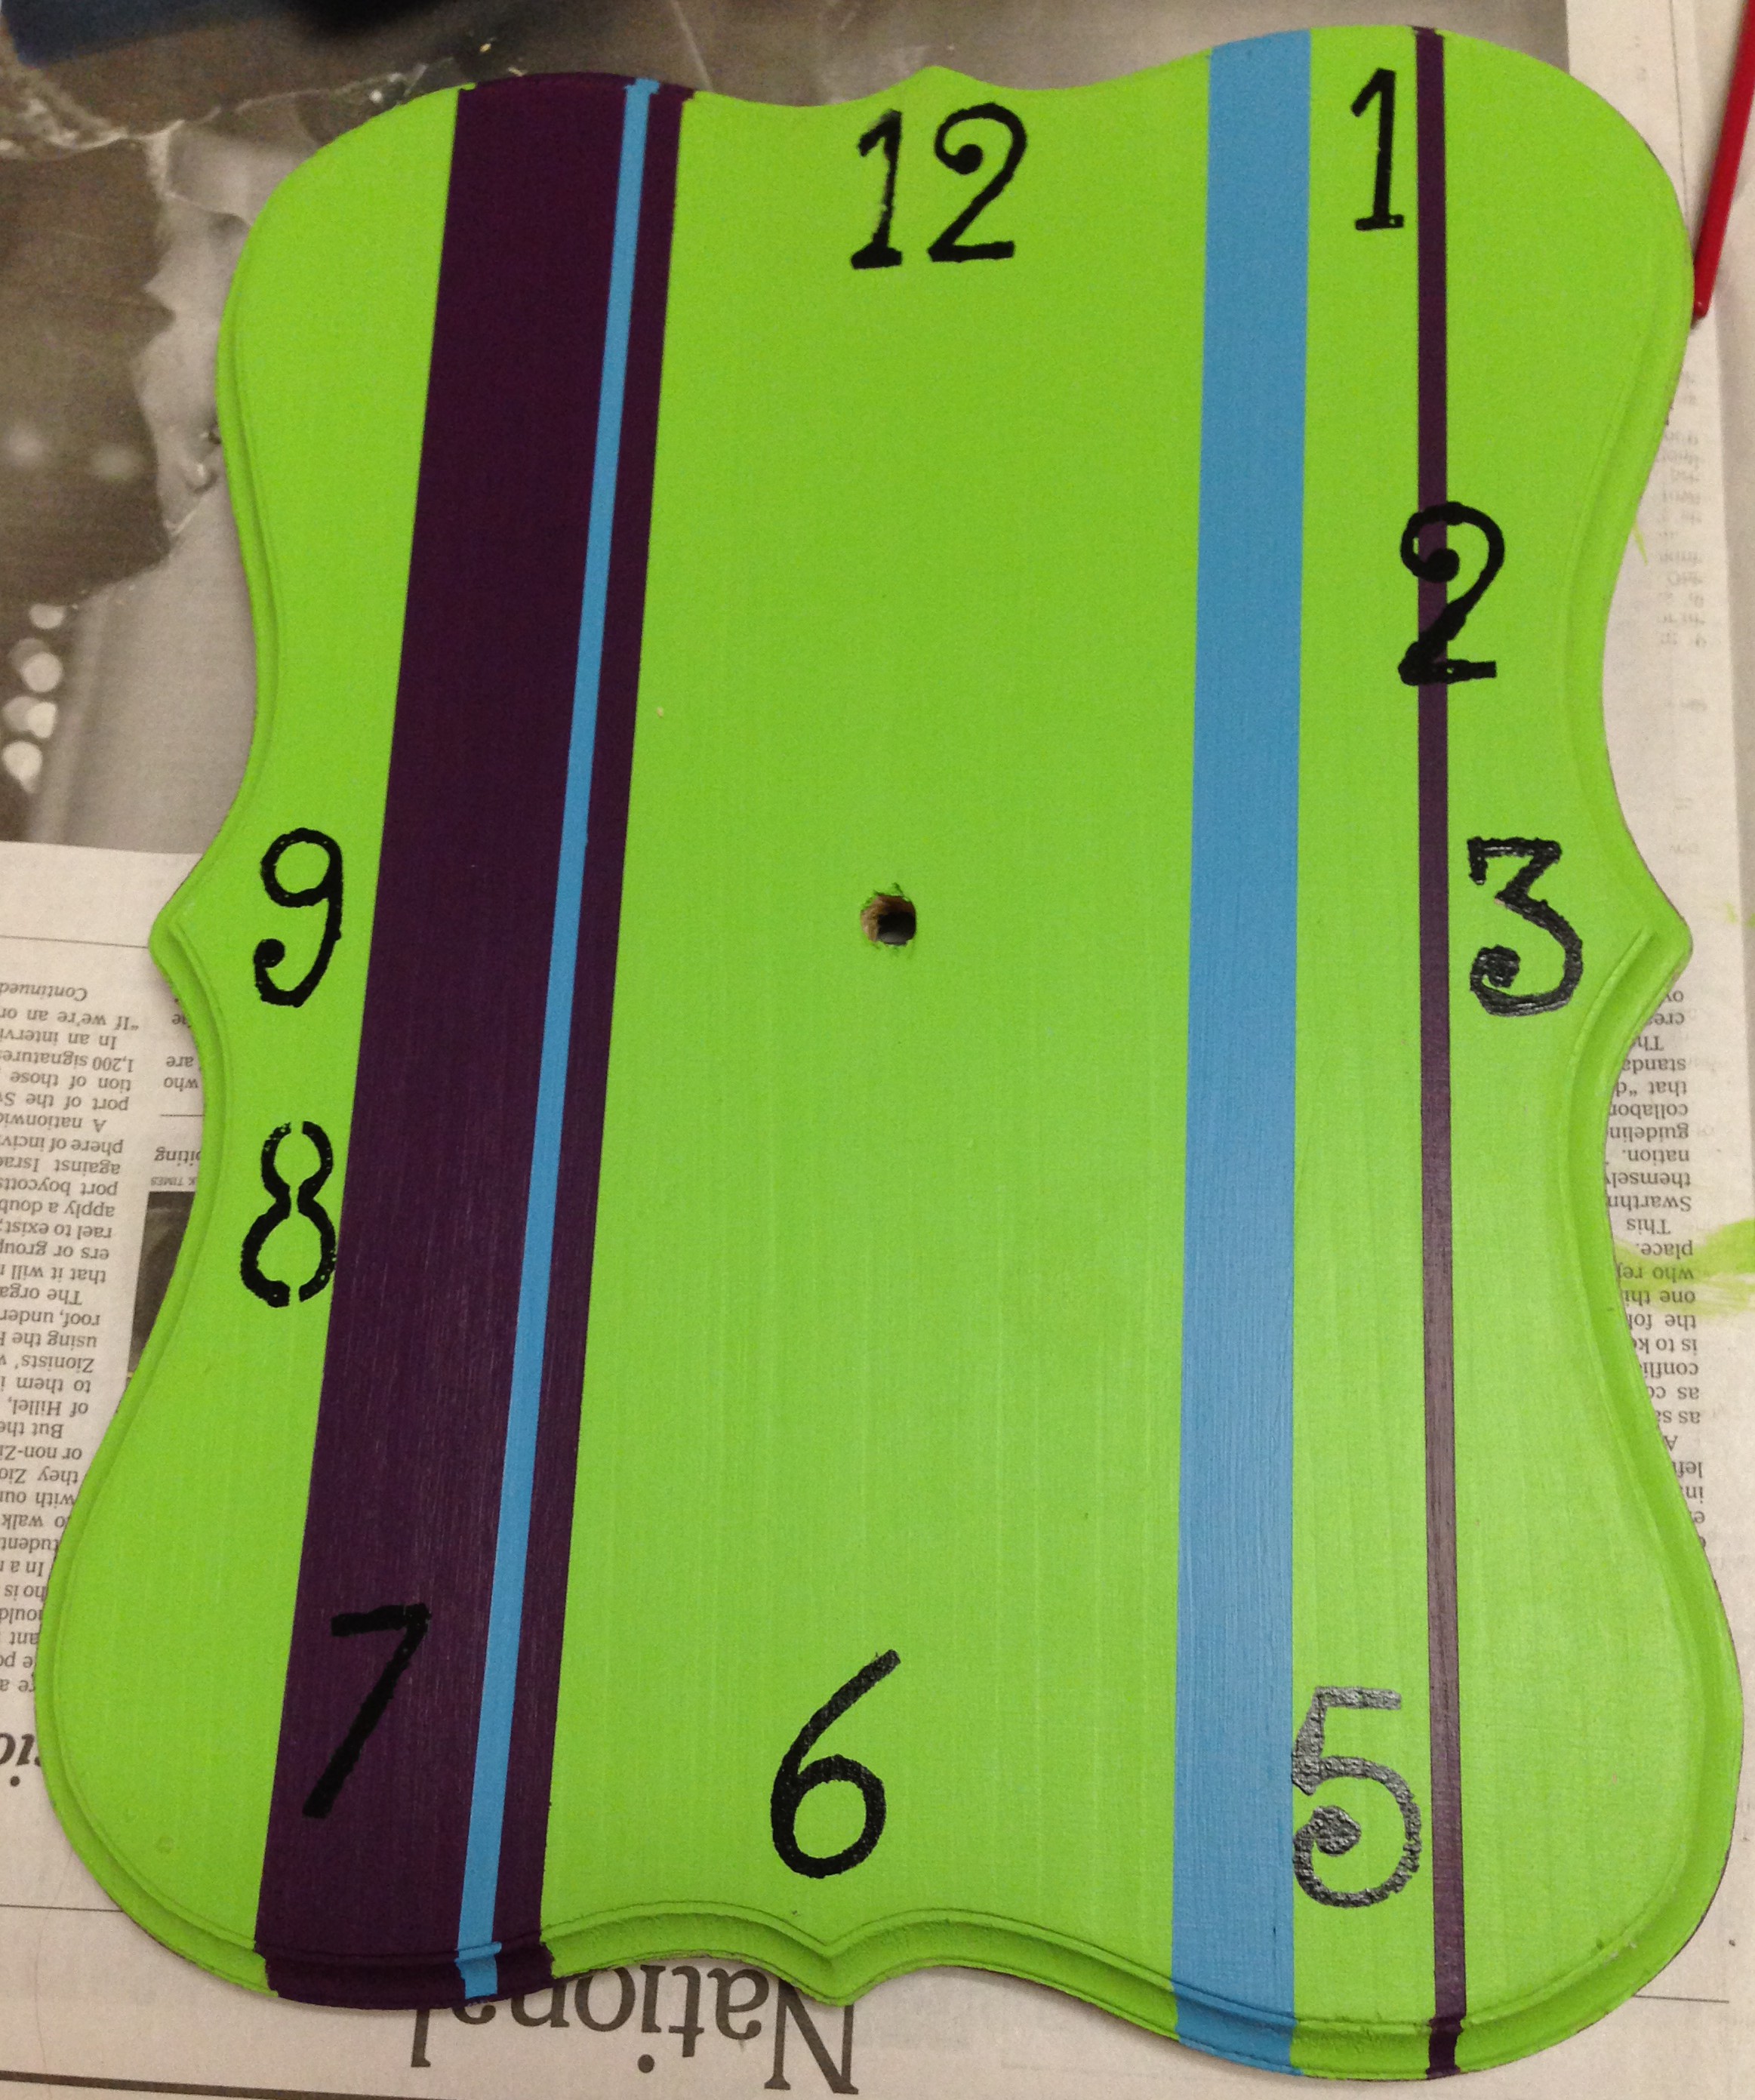
A pack of wild numbers slowly gathers
I had to let each number dry before moving onto the next to make sure my stencil didn’t smudge them. After all the numbers were on and dry, I installed the mechanism, put in a battery, and I had a working clock!

Does anybody really know what time it is?
Overall, it was a pretty simple project, it just took a few days since I had to wait for paint to dry in between steps. I think that I’d definitely make another clock at some point, in fact, my sister requested one after seeing this one, so maybe I’ll get around to doing that someday…

What a cool aunt you are! Thoughtful to give Santa a hand! For some reason the pictures didn’t show up on my phone but I can just imagine the love and talent that went into making this! Well done! Cheers, Koko 🙂