One cold, winter night about three years ago, one aspiring seamstress set out on a quest. A quest to make her own apron. Sounds simple enough, right? Well, this woman didn’t like to make things TOO simple. She decided that if she was going to make an apron, she should make an apron that could serve the function of not one apron, but TWO.
It started with a Christmas gift: A brand new crafting/sewing table.
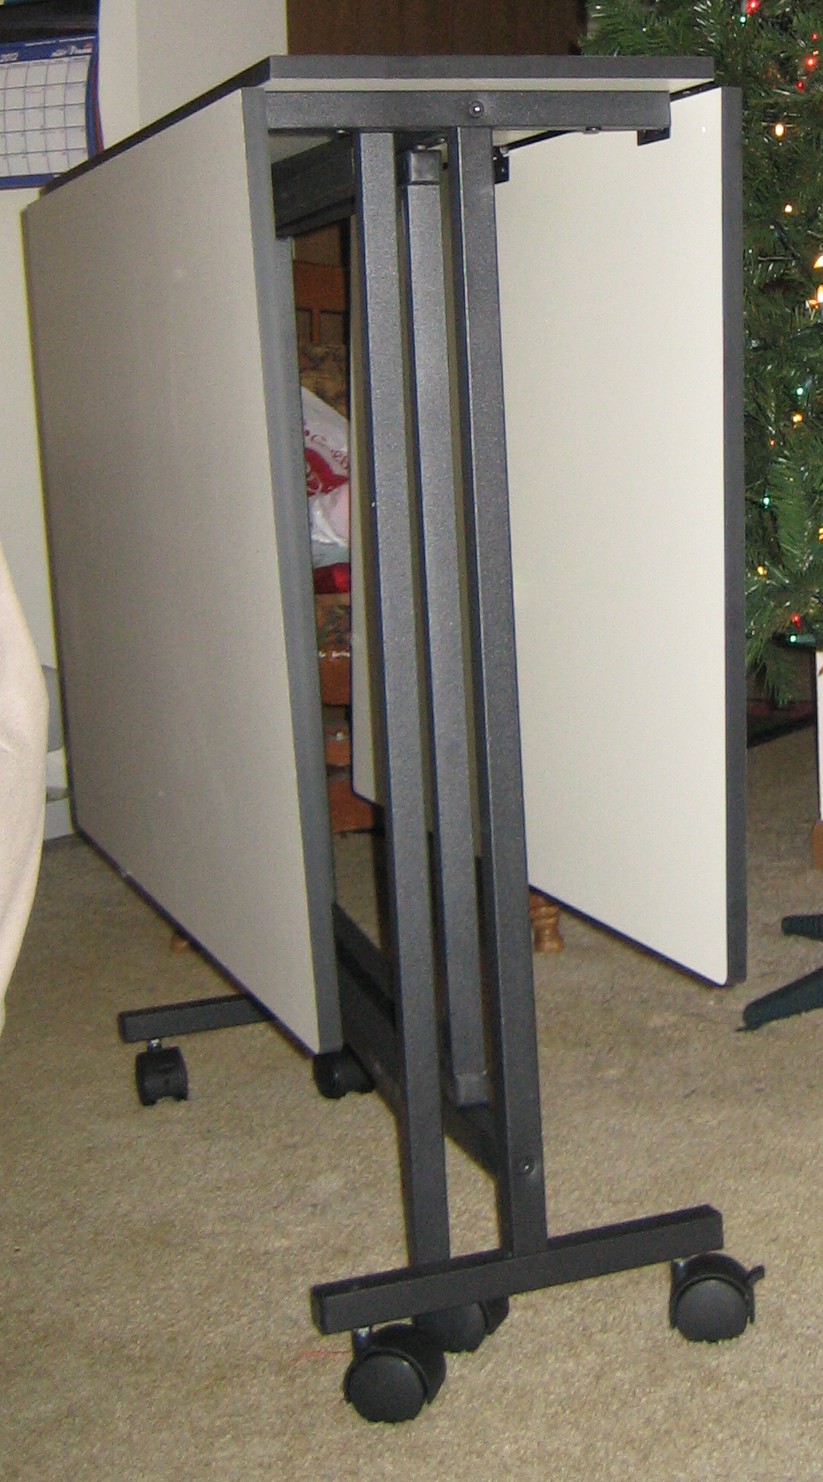
By day: an unassuming horizontal surface to collect clutter and dust.
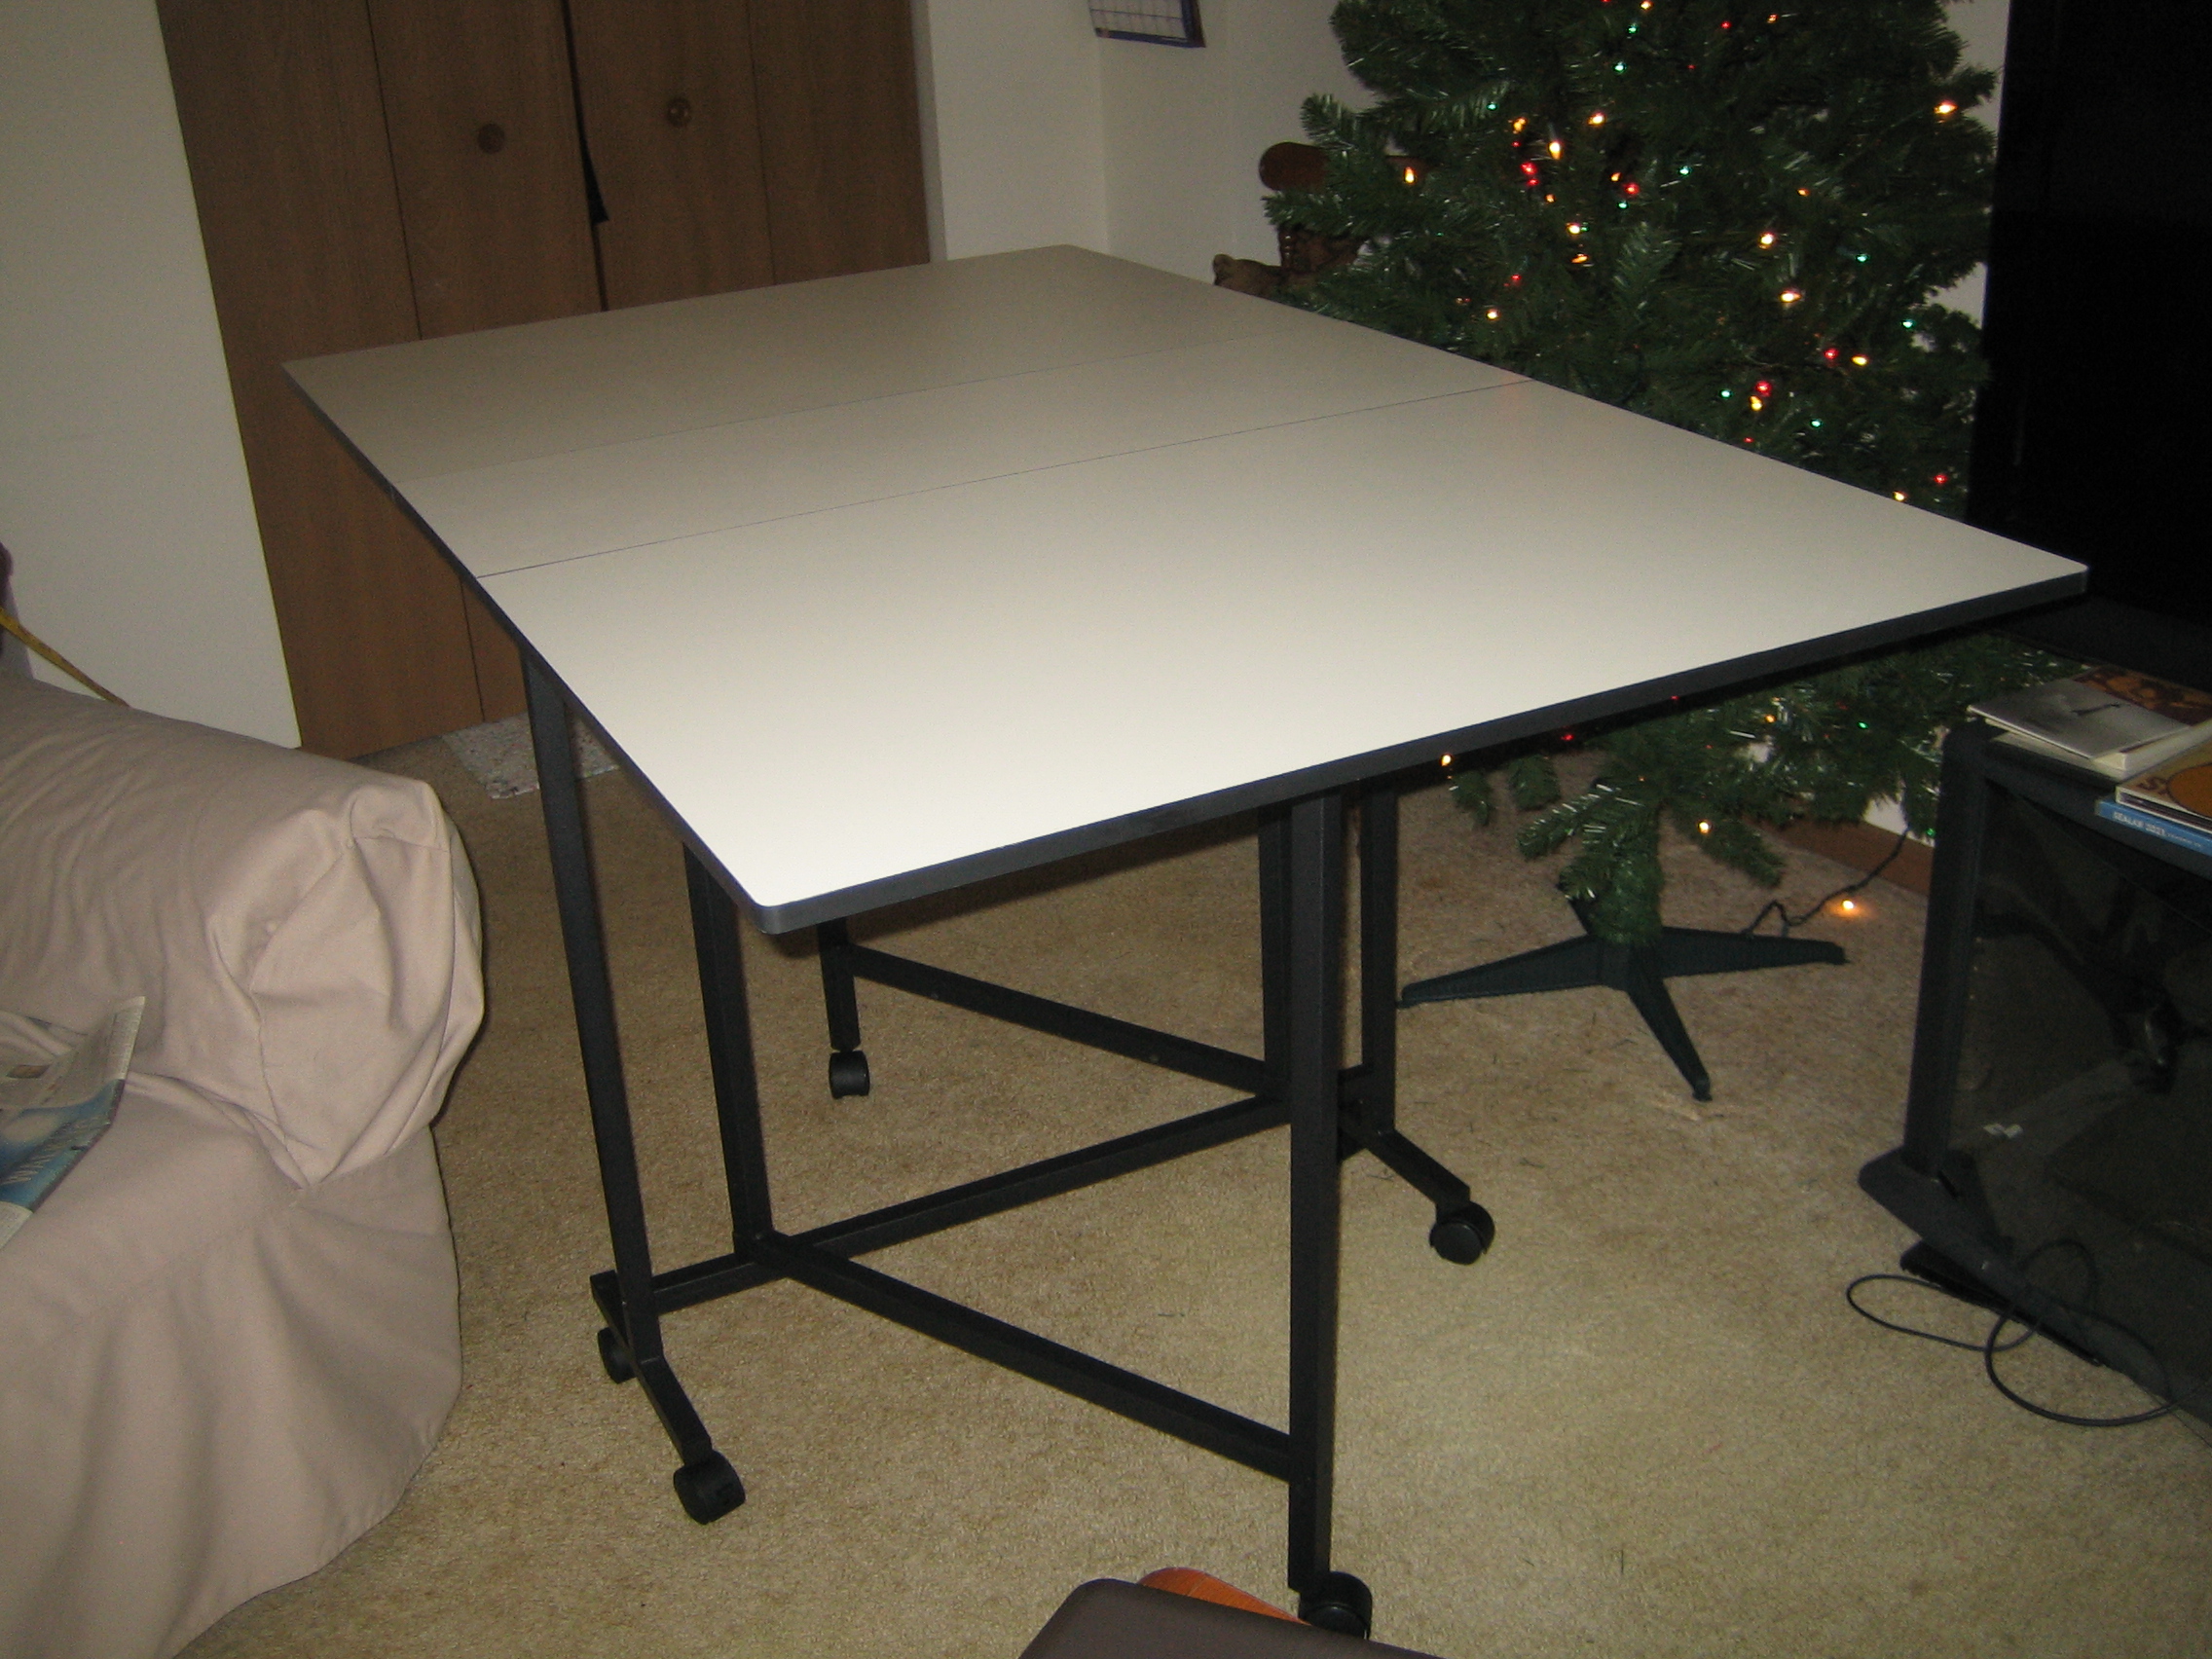
By night: a much larger horizontal surface to collect clutter and dust.
I found a tutorial for an apron style I liked here. I had to put a little extra thought into how I could make it two-sided: what extra fabric would be required, what pieces would be visible from both sides, how to coordinate colors patterns between the two sides …
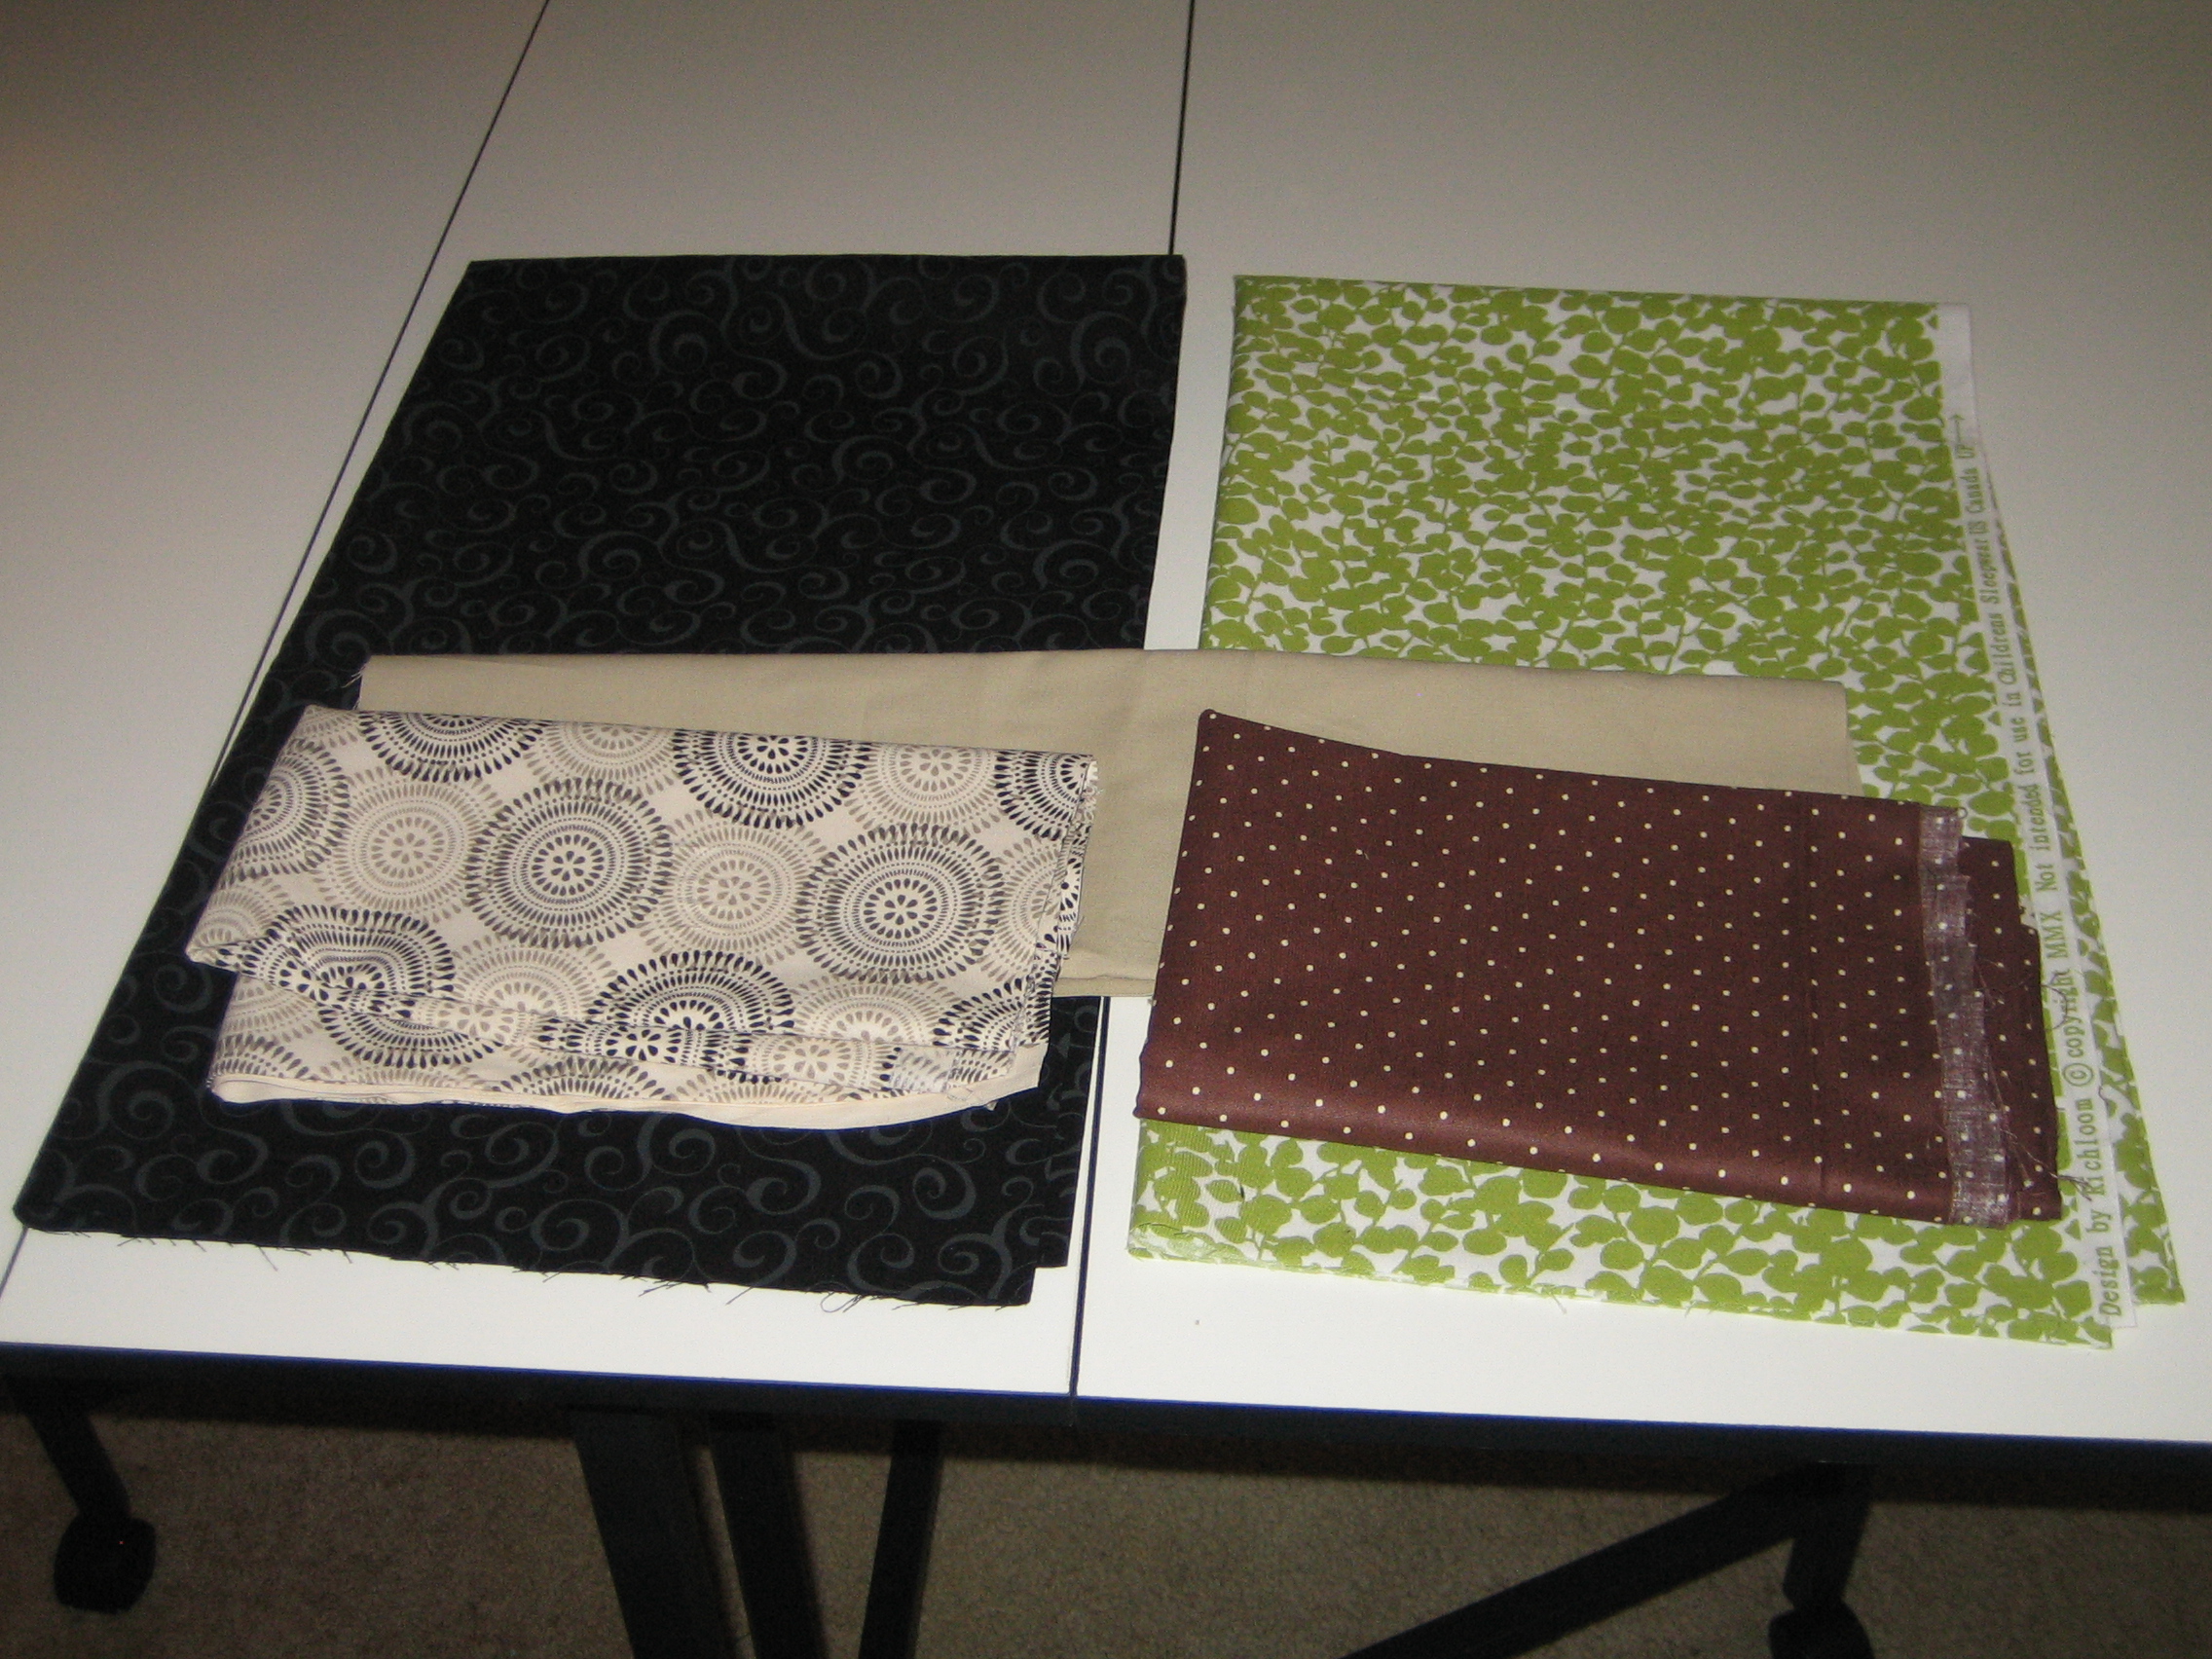
I decided I’d try to go for a more causal/everyday apron on one side and a fancier apron on the other. You know, <beginsarcasm>for all those dinner parties I throw</endsarcasm>.
I started by creating a pattern out of some newspaper. The dimensions provided in the tutorial weren’t as thorough as I would have liked, but there was enough info that I was able to figure it out.

Project hack: have a shield lying around? Use that as an apron instead!
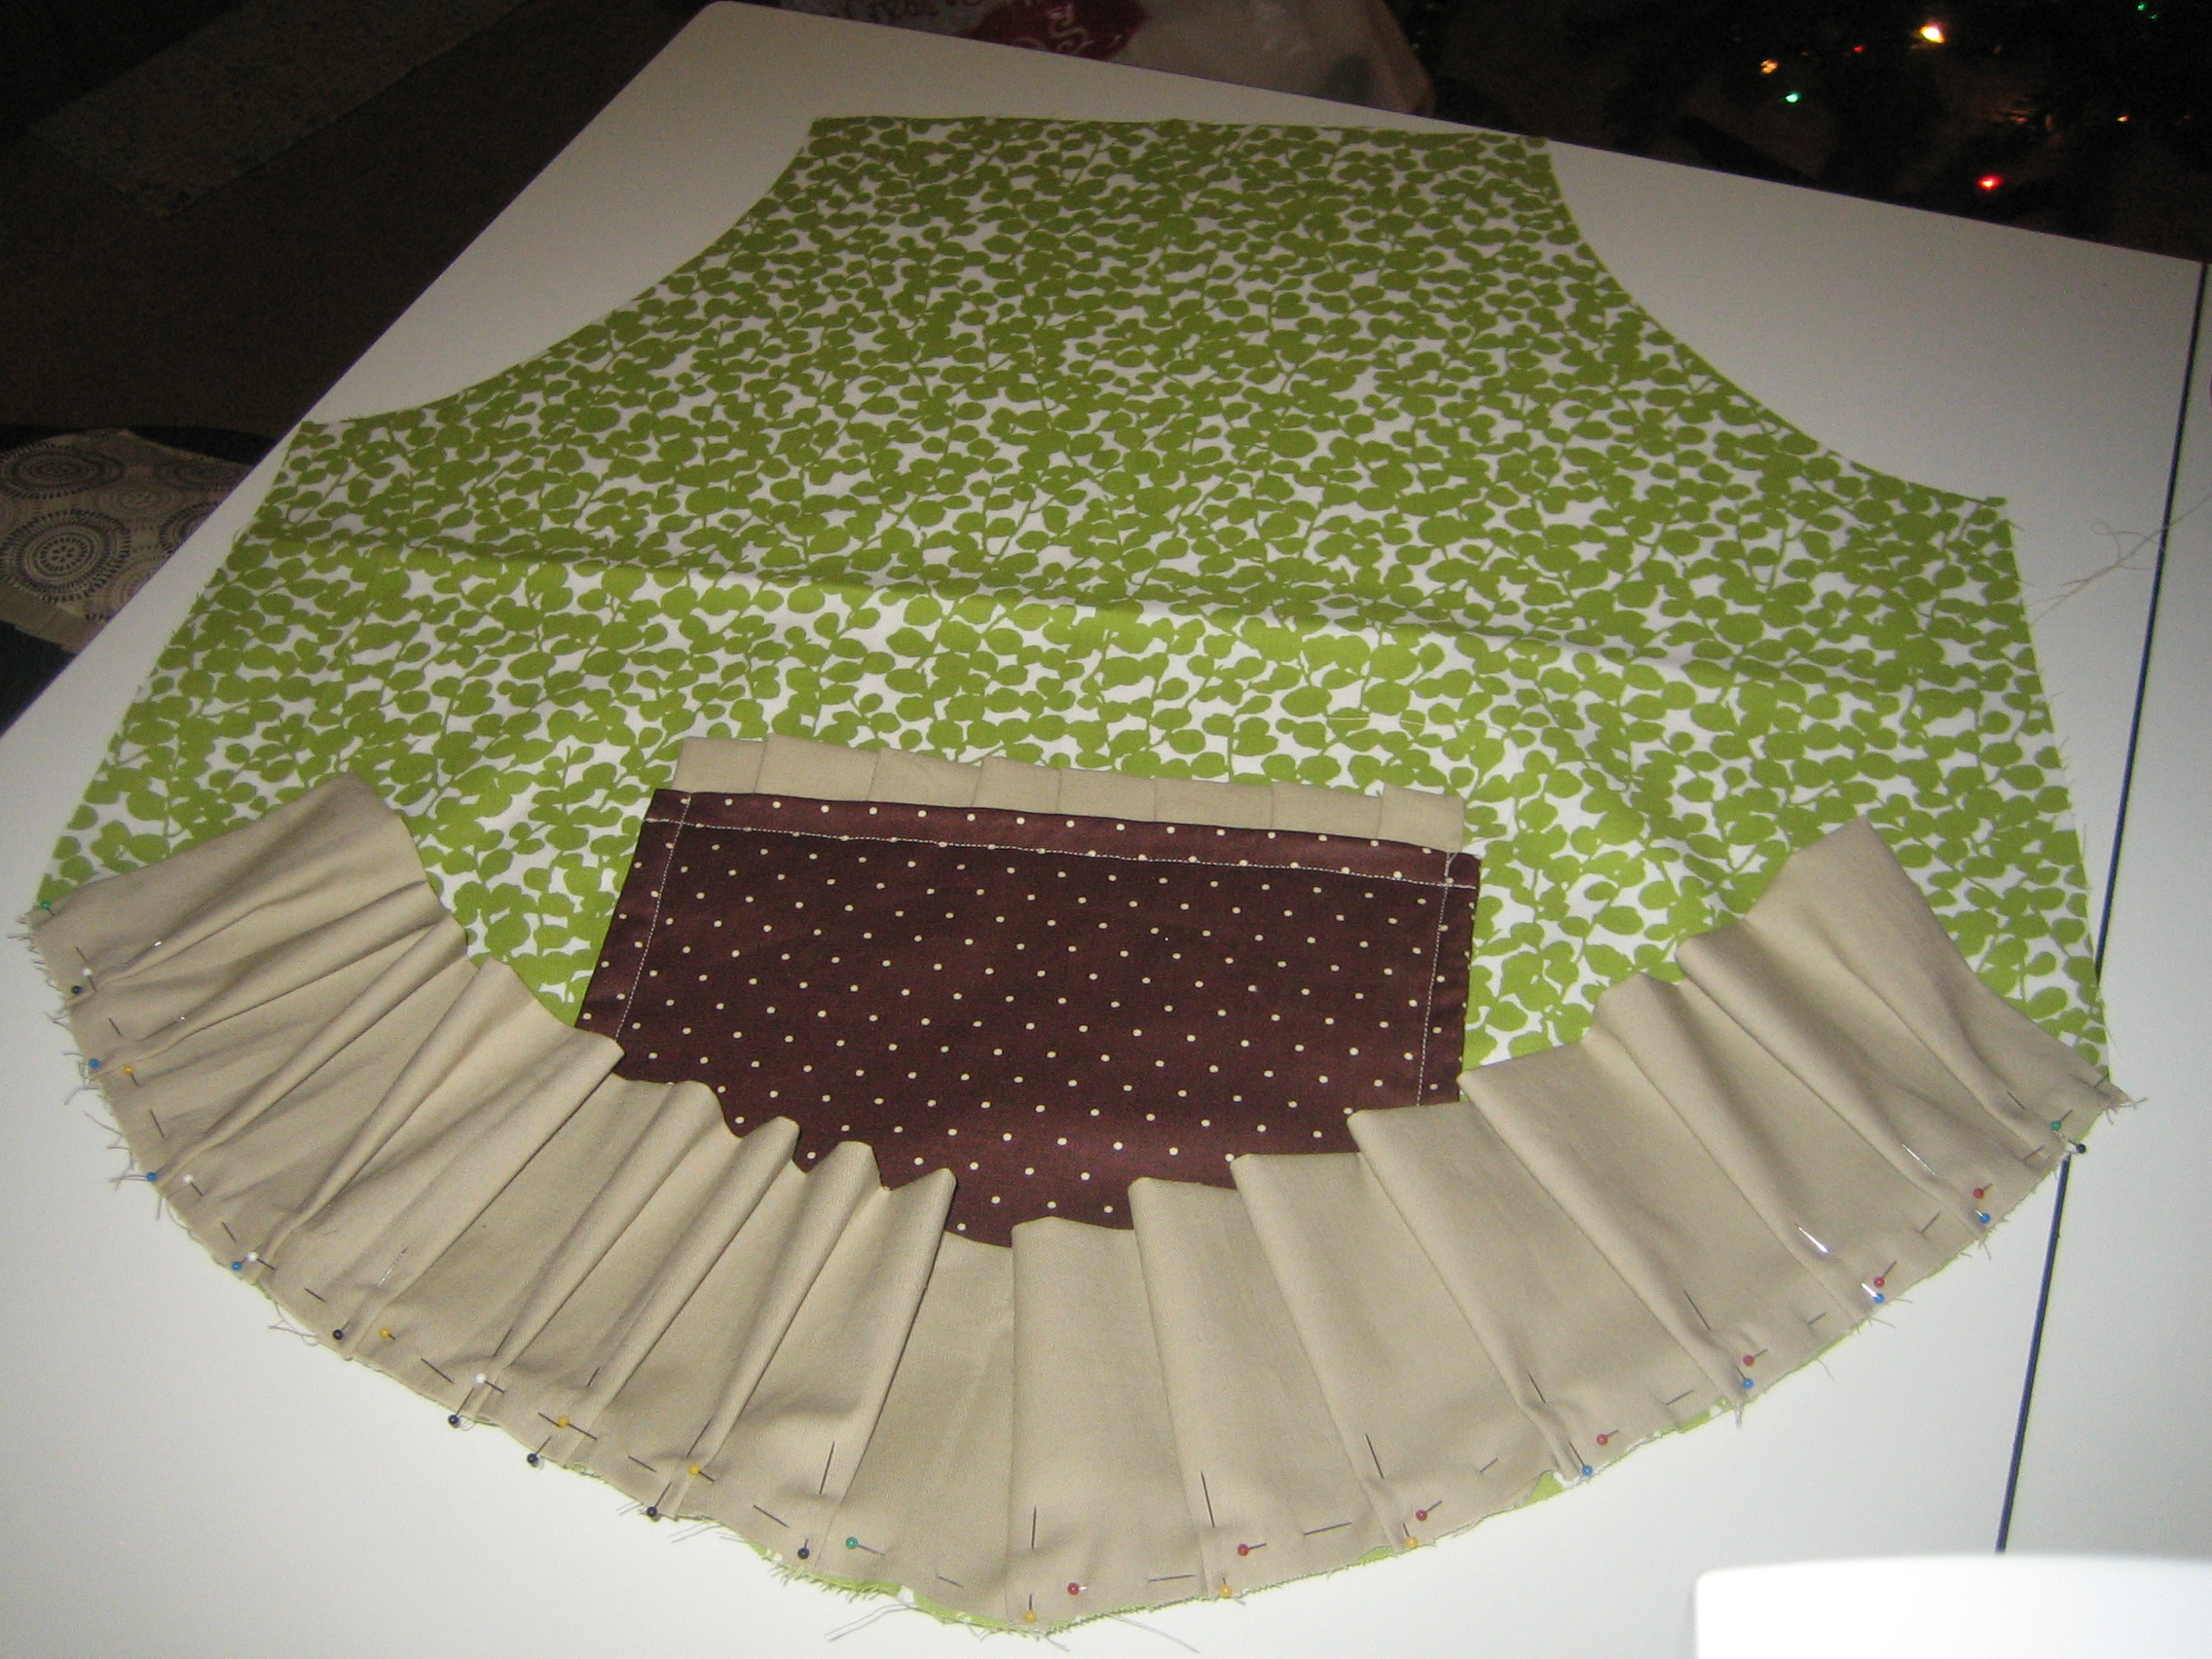
Next step was to cut out the pieces for each side. The main pocket piece on each side was simply a rectangle, and I had to cut a few strips for the neck strap and ties.
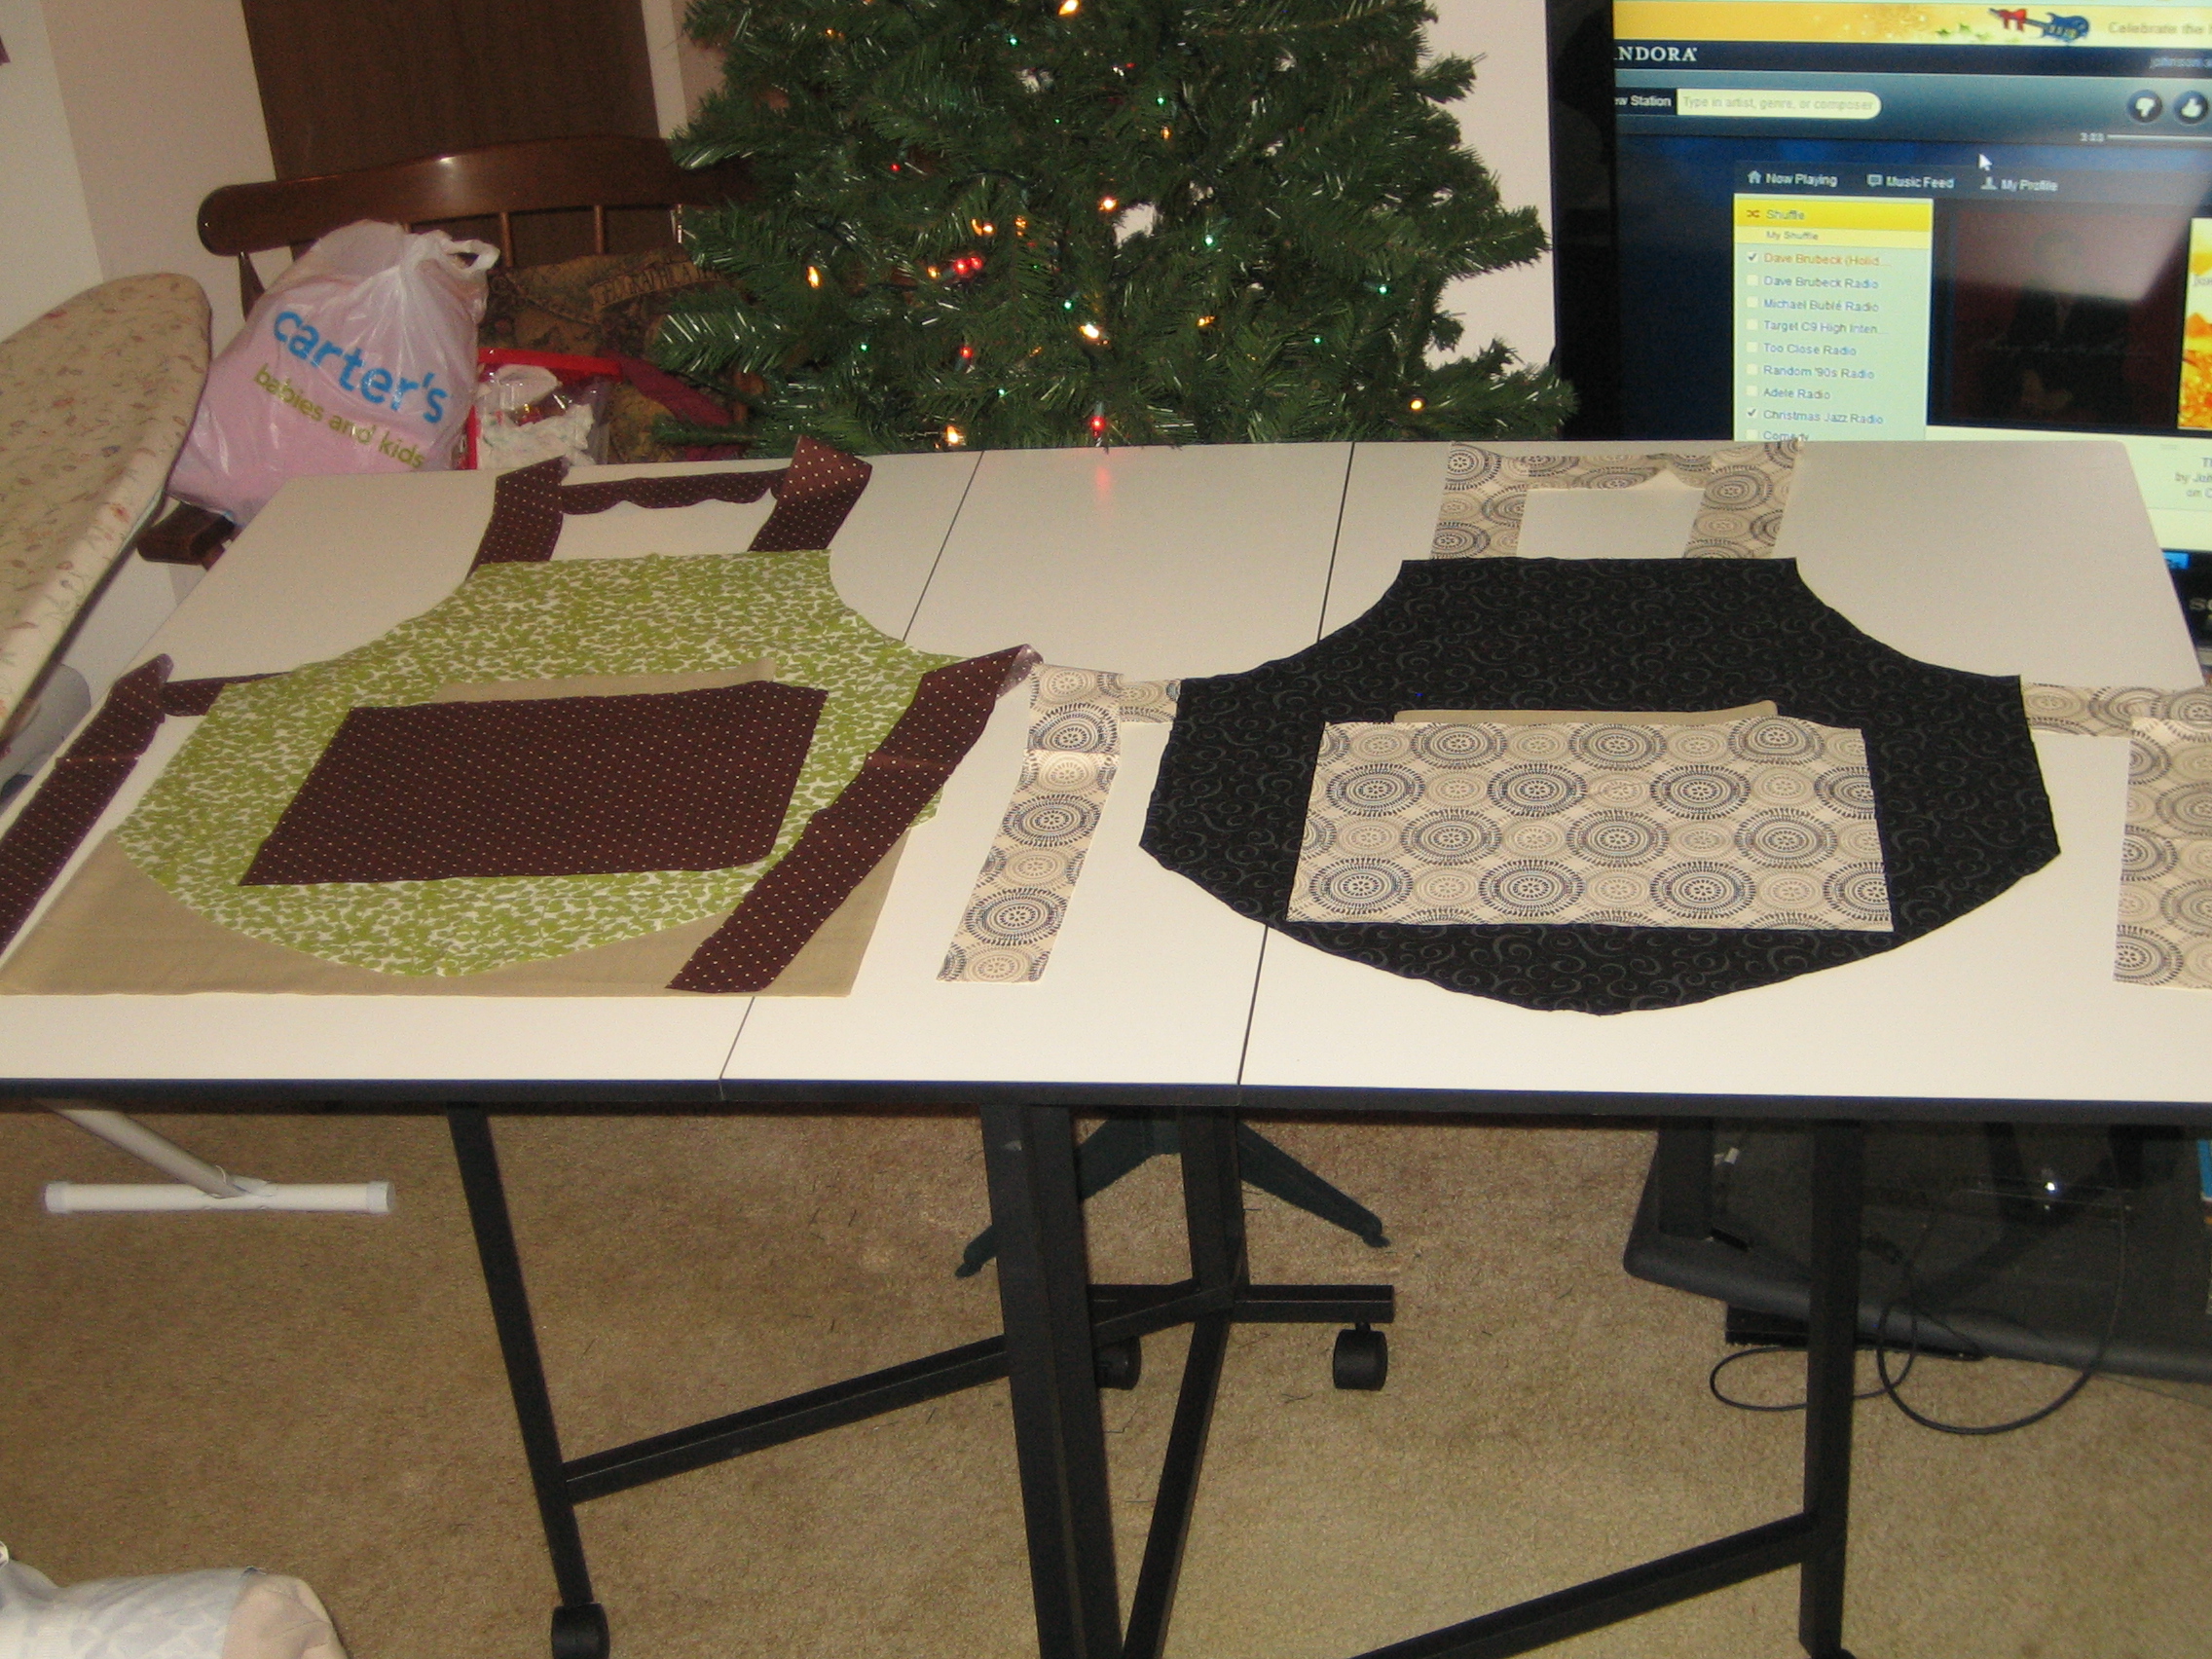
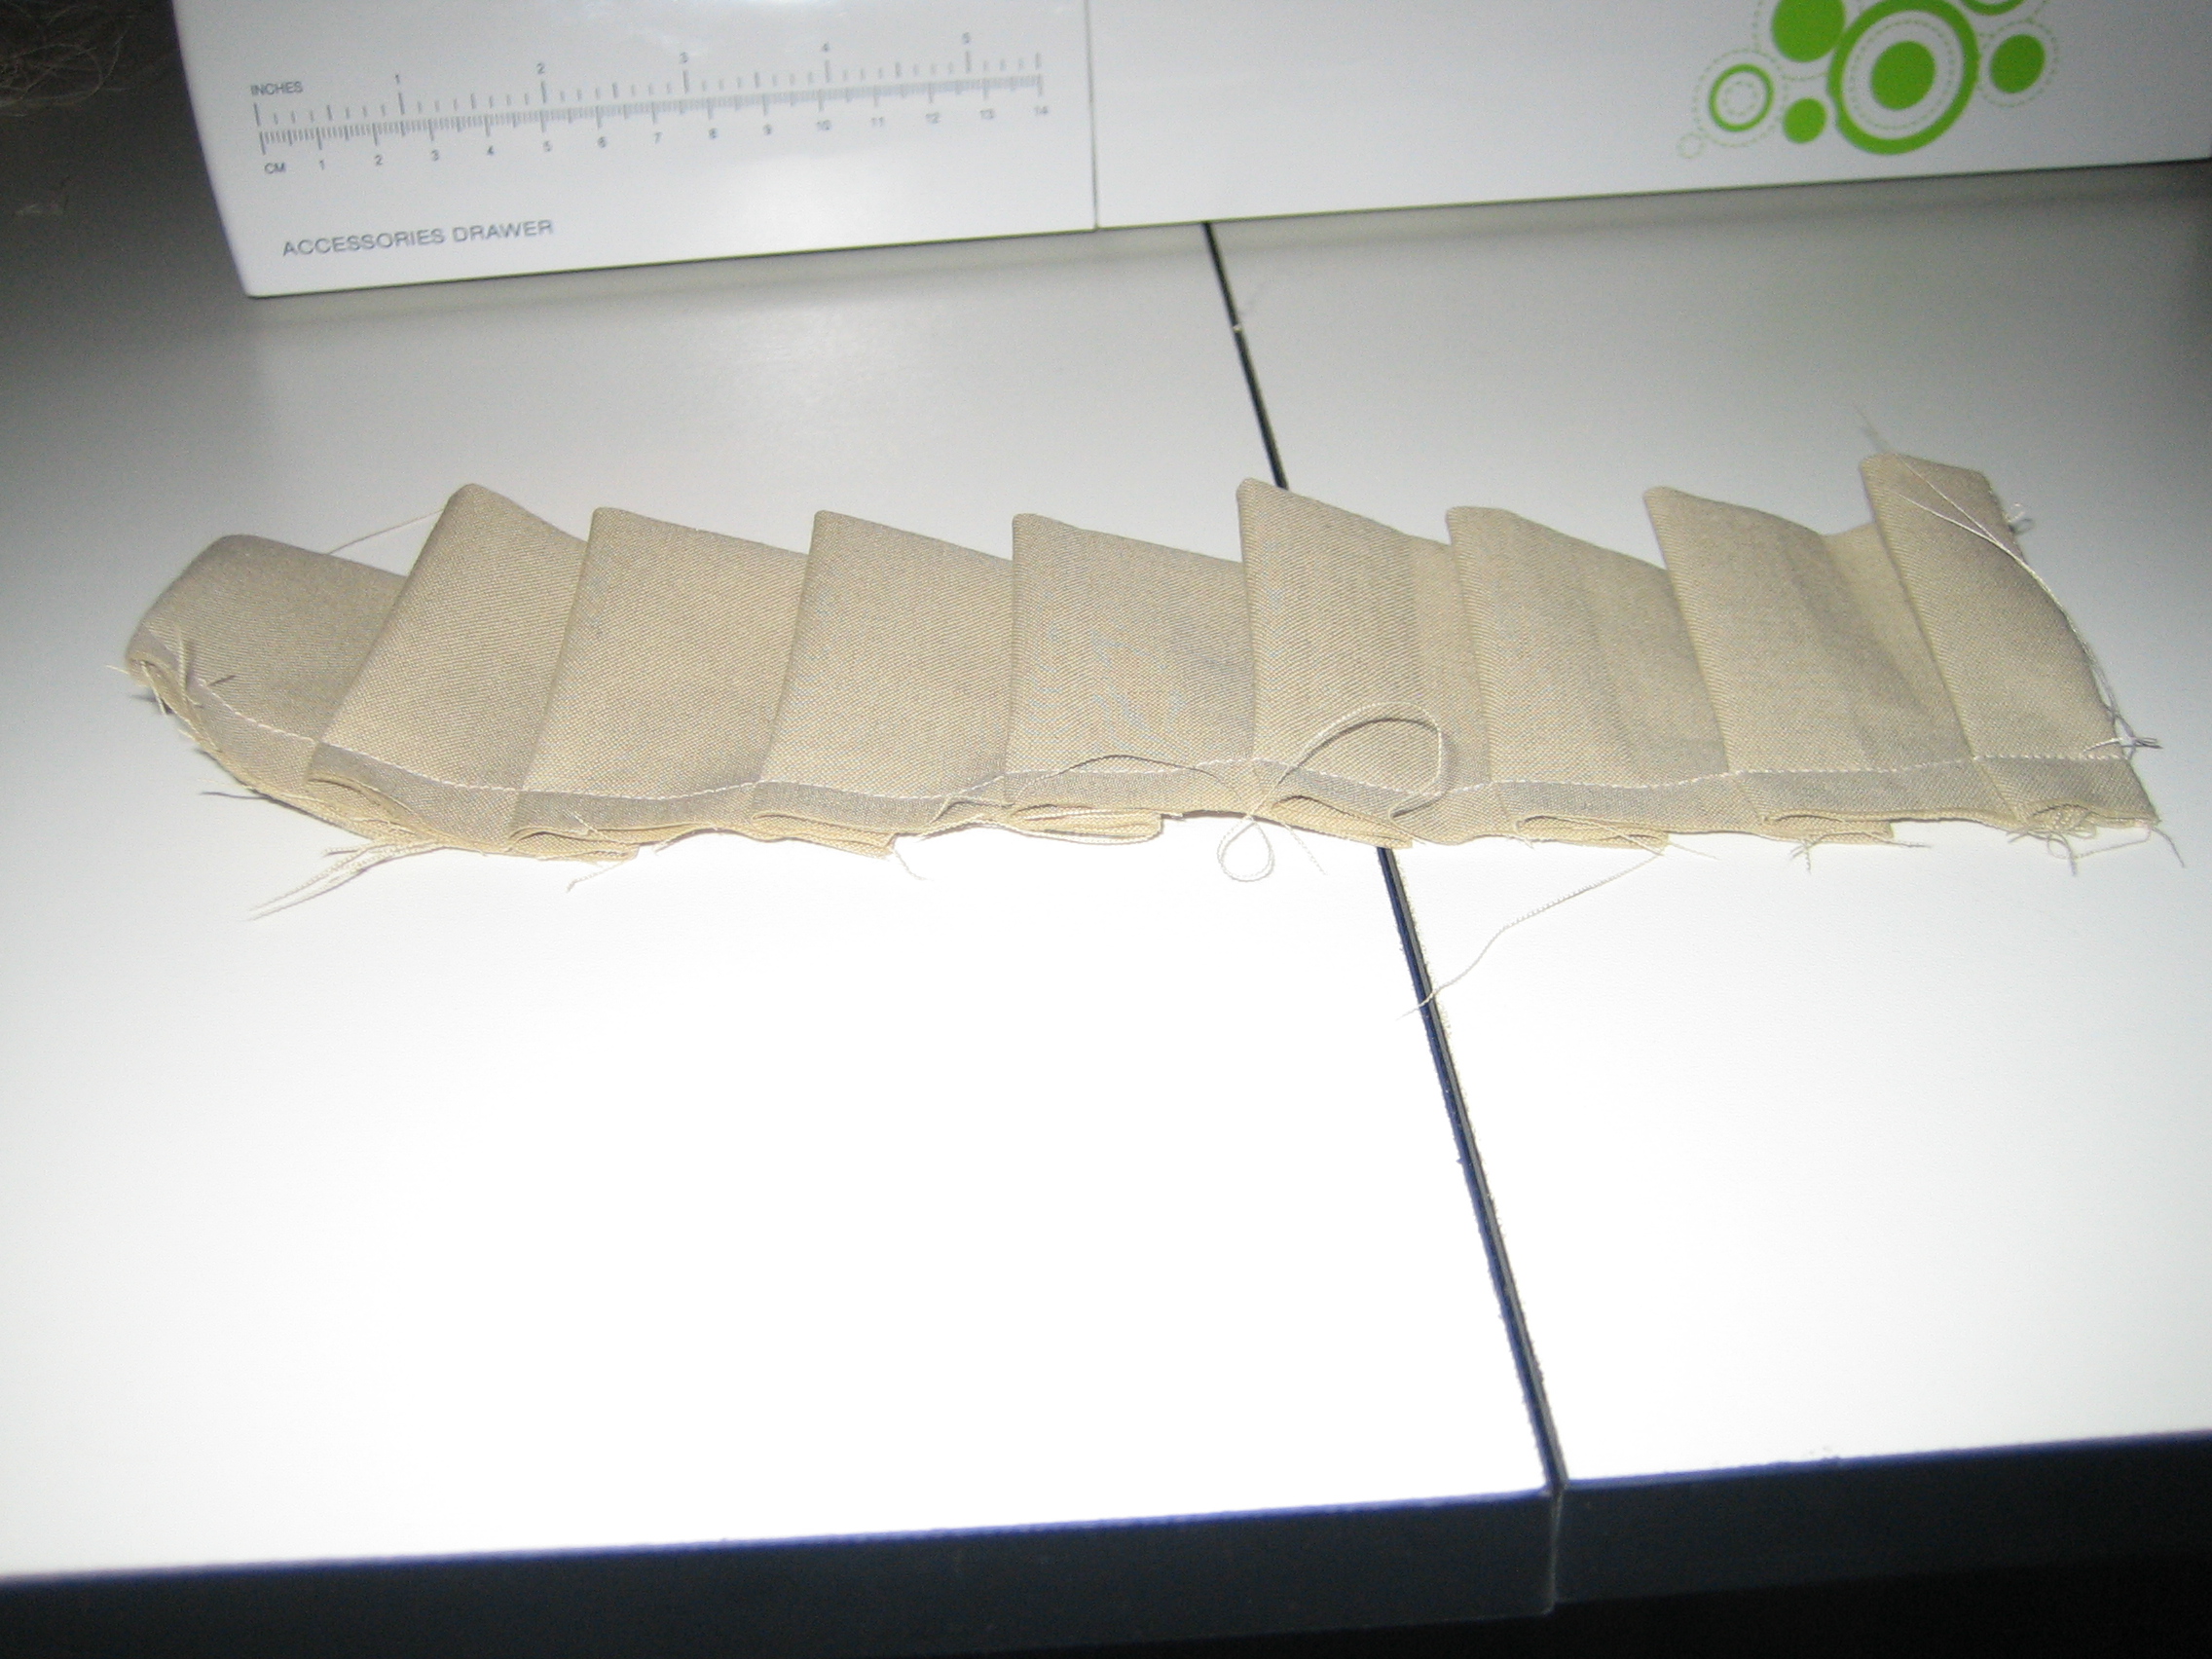
The pleated details at the pockets and bottom of the apron were a bit trickier. I remember having to fold the pleats at least three times to get the finished length to match the length of the bottom of the apron. I probably could have spent a little more time measuring and then calculating the difference between the unfinished and finished dimensions, but in the end, I got it to work. The curve at the bottom of the apron also made it a bit trickier.
Because I worked on this about three years ago, I’m having trouble remembering exactly what order I did things to get the reversible aspect to work. I’m pretty sure I sewed each pocket to the front of the main apron pieces, then laid out the ruffled bottom piece along the right side of one piece, except upside down, so that when I flipped everything right side out, it’d be hanging out.
Then I laid the straps and ties sticking “in” on the right side of one of the main pieces before laying the other main apron piece right side down on top of everything.
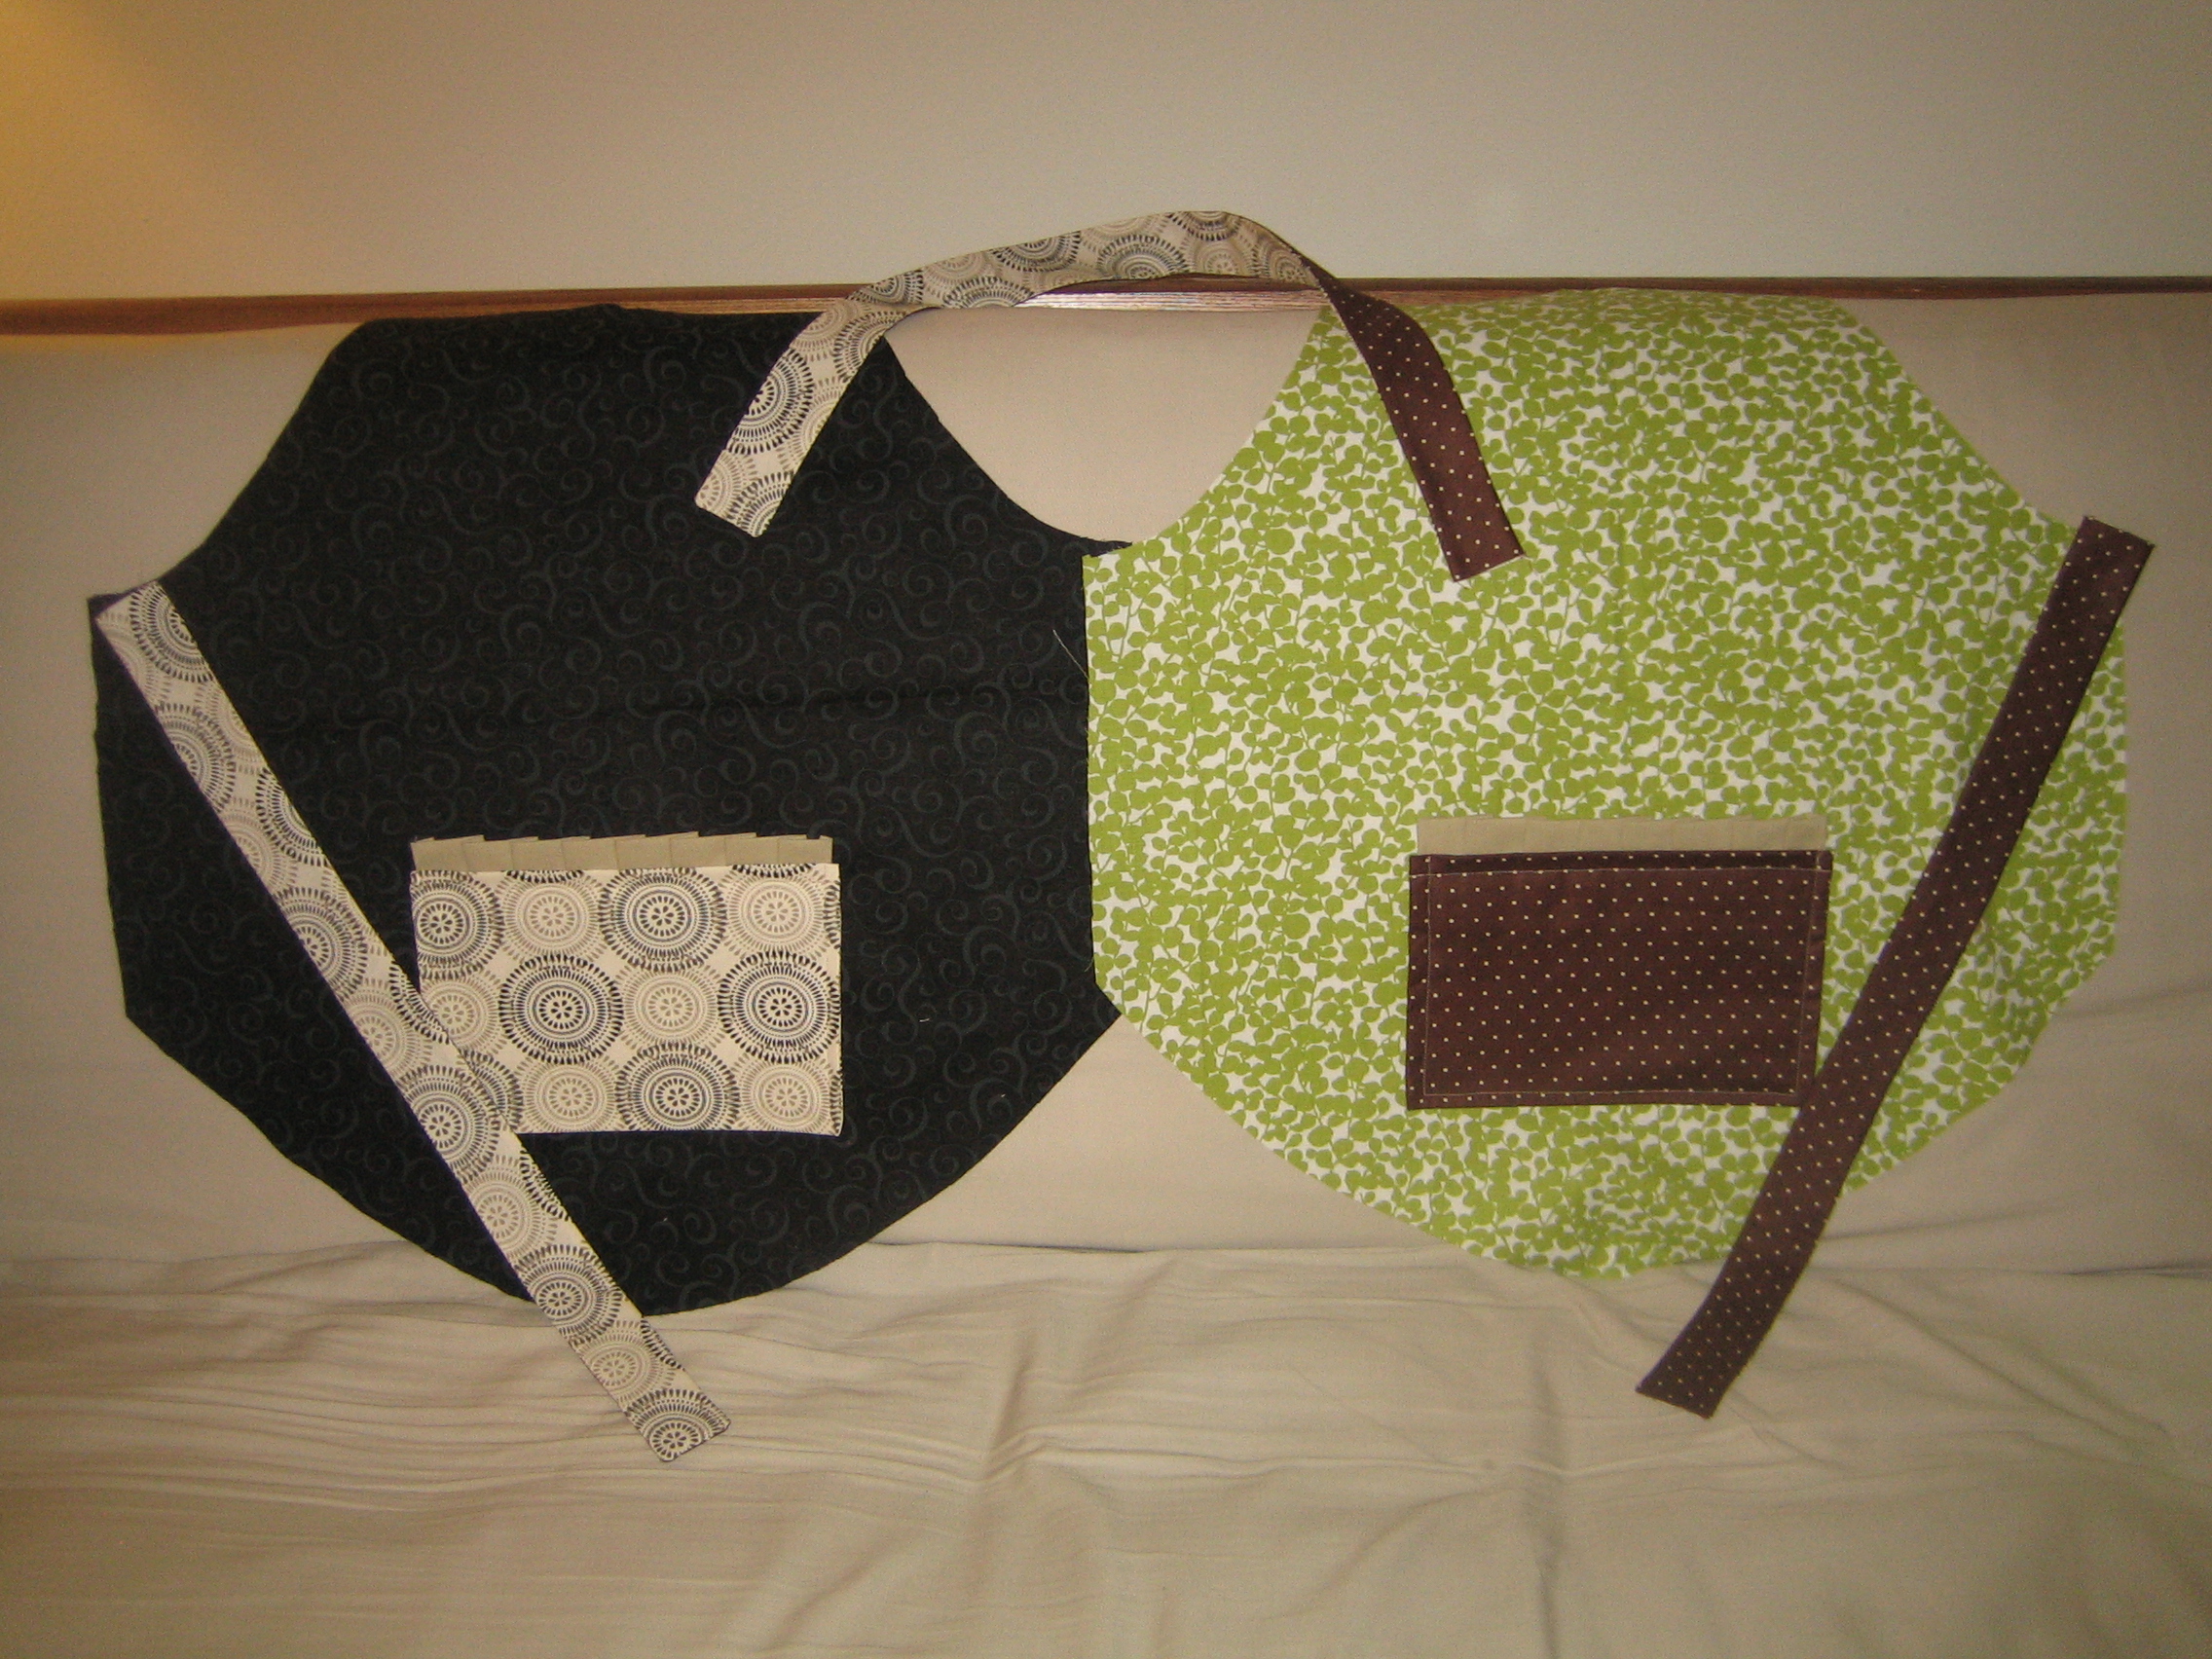
I sewed around almost the entire perimeter, leaving a gap of about 4-6″ at one of the armholes so I could flip the whole thing inside out. I ended up having to rip a little bit of the seam at one end of the neck strap to adjust the length. It probably would have been easier to leave my gap for flipping in that same area so I didn’t have to go back and close up quite as much, but it was still pretty minimal in the end.
The end result: Two aprons that function for my <beginsarcasm>frequent</endsarcasm> cooking and baking needs. Note: the following pictures accurately display the amount of effort I usually apply to food preparation on a regular basis.
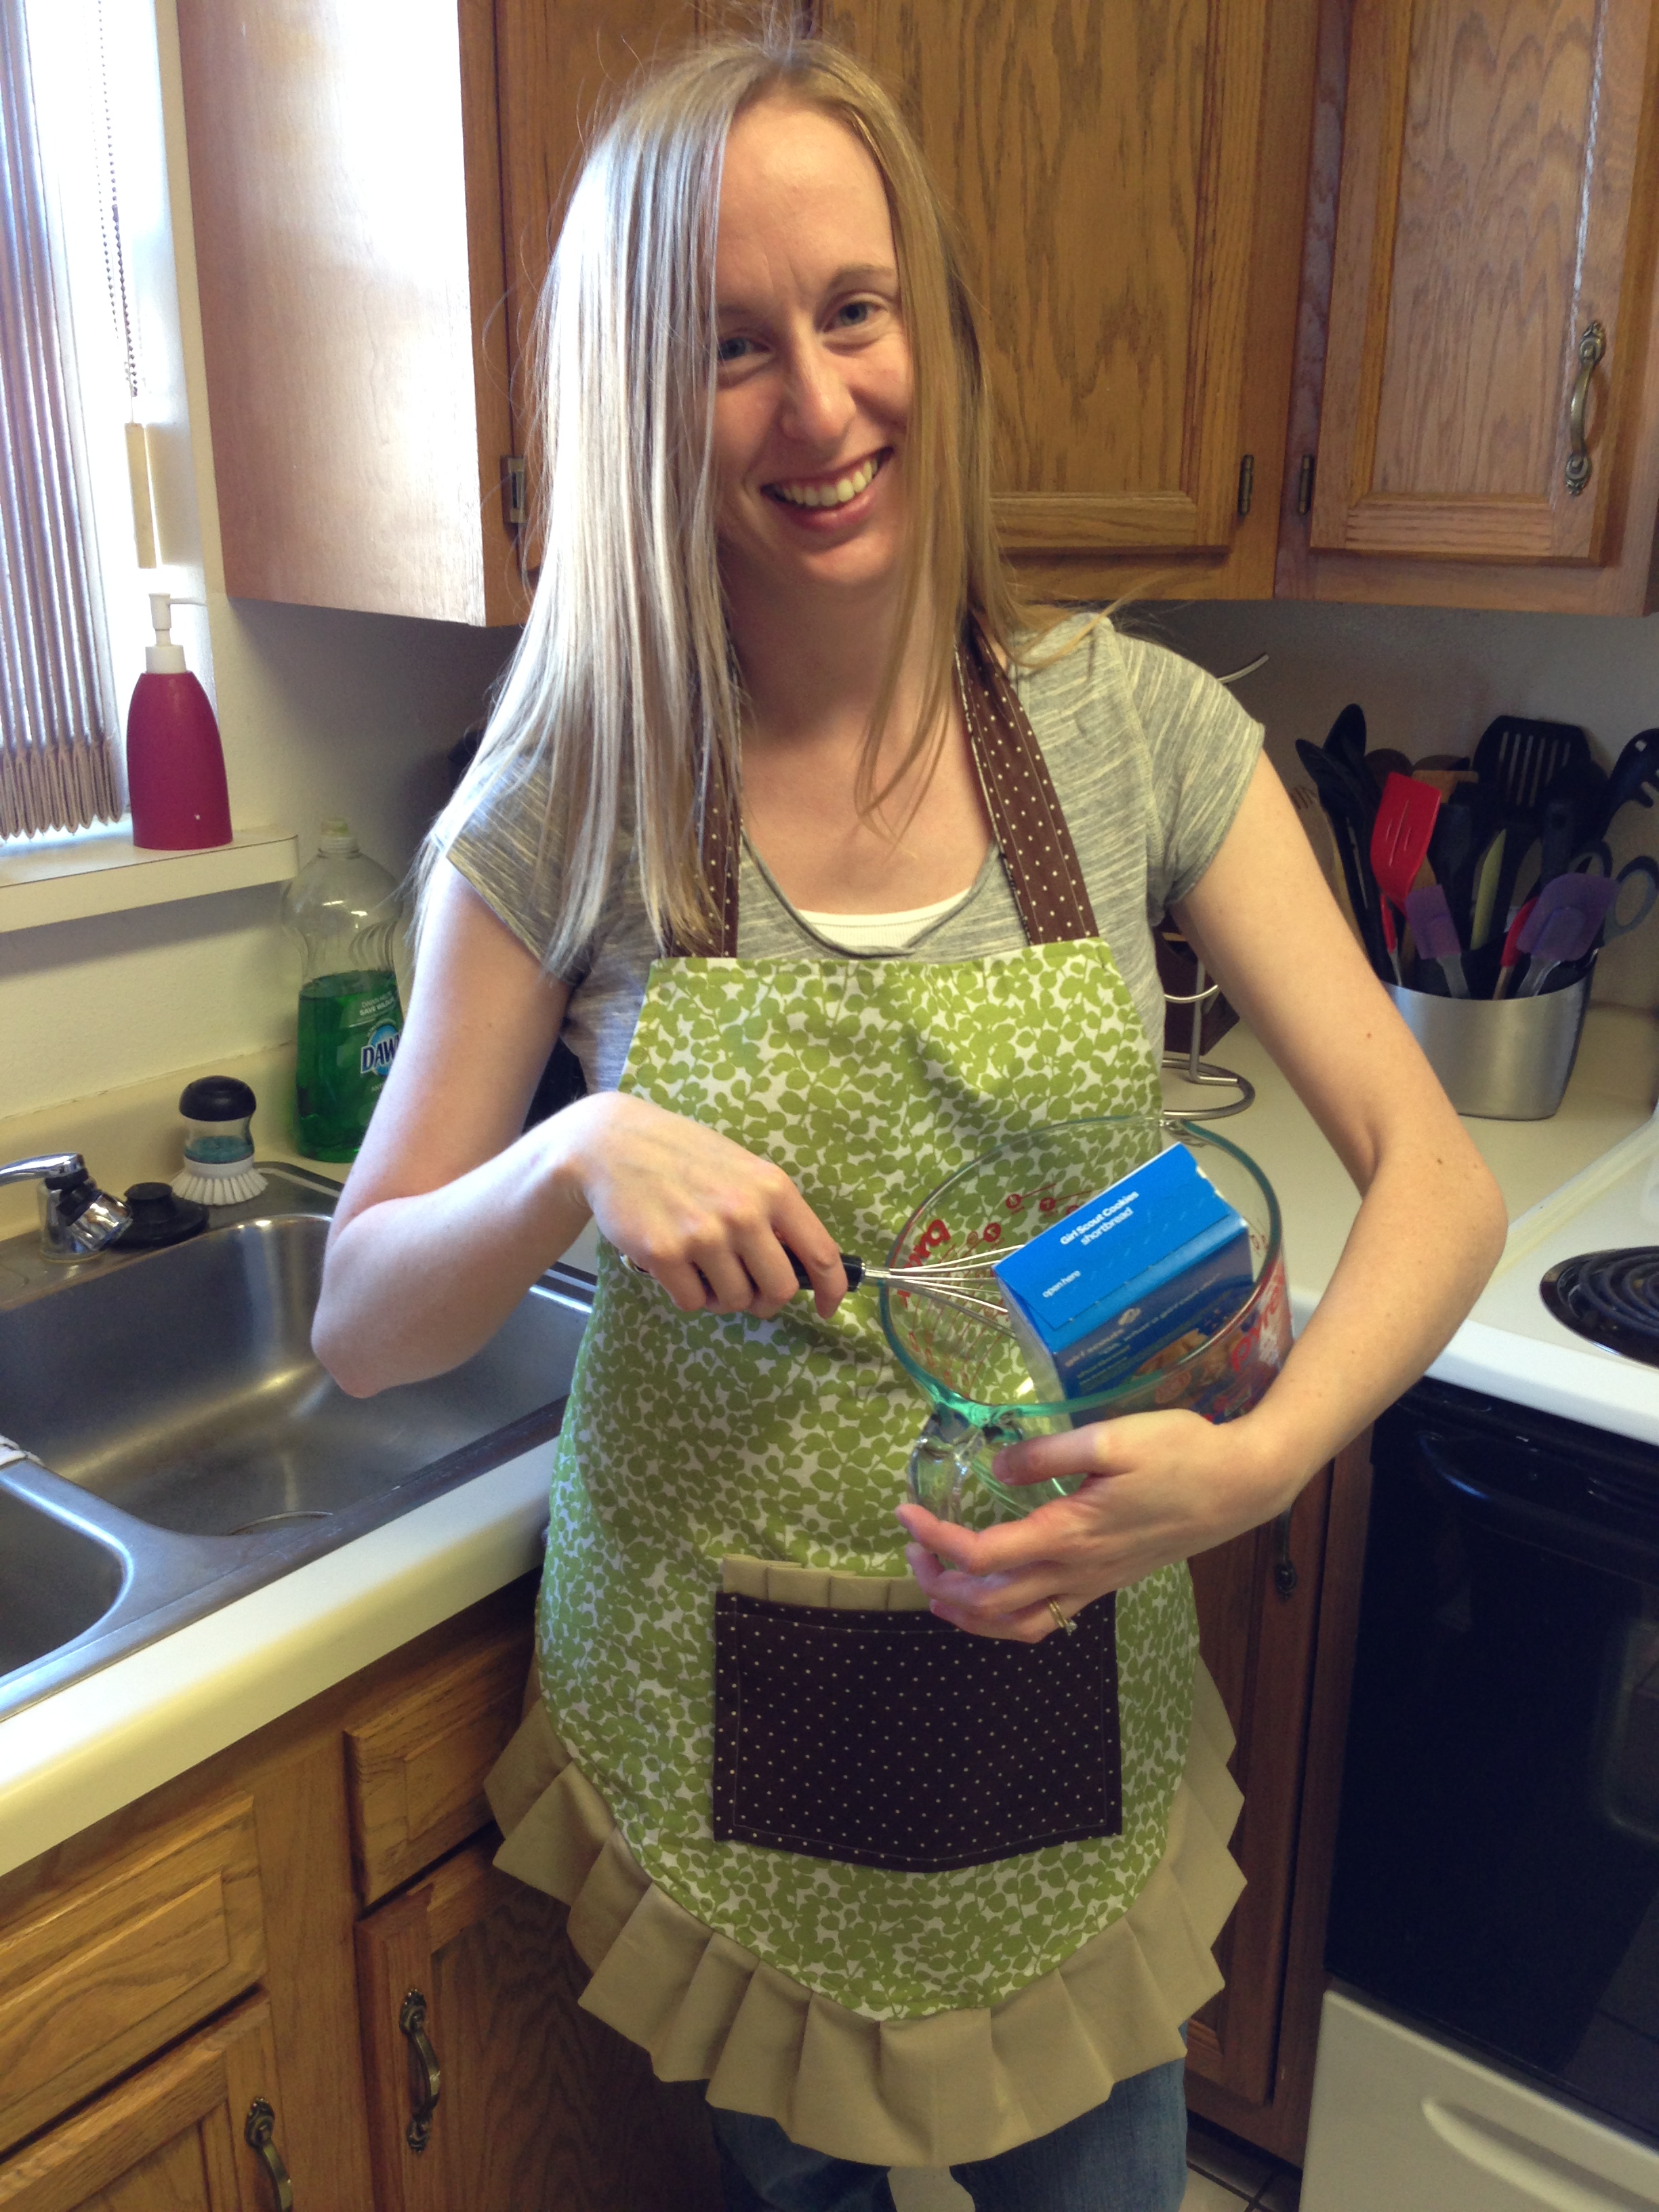
The box of Girl Scout cookies was not harmed during this photo shoot.
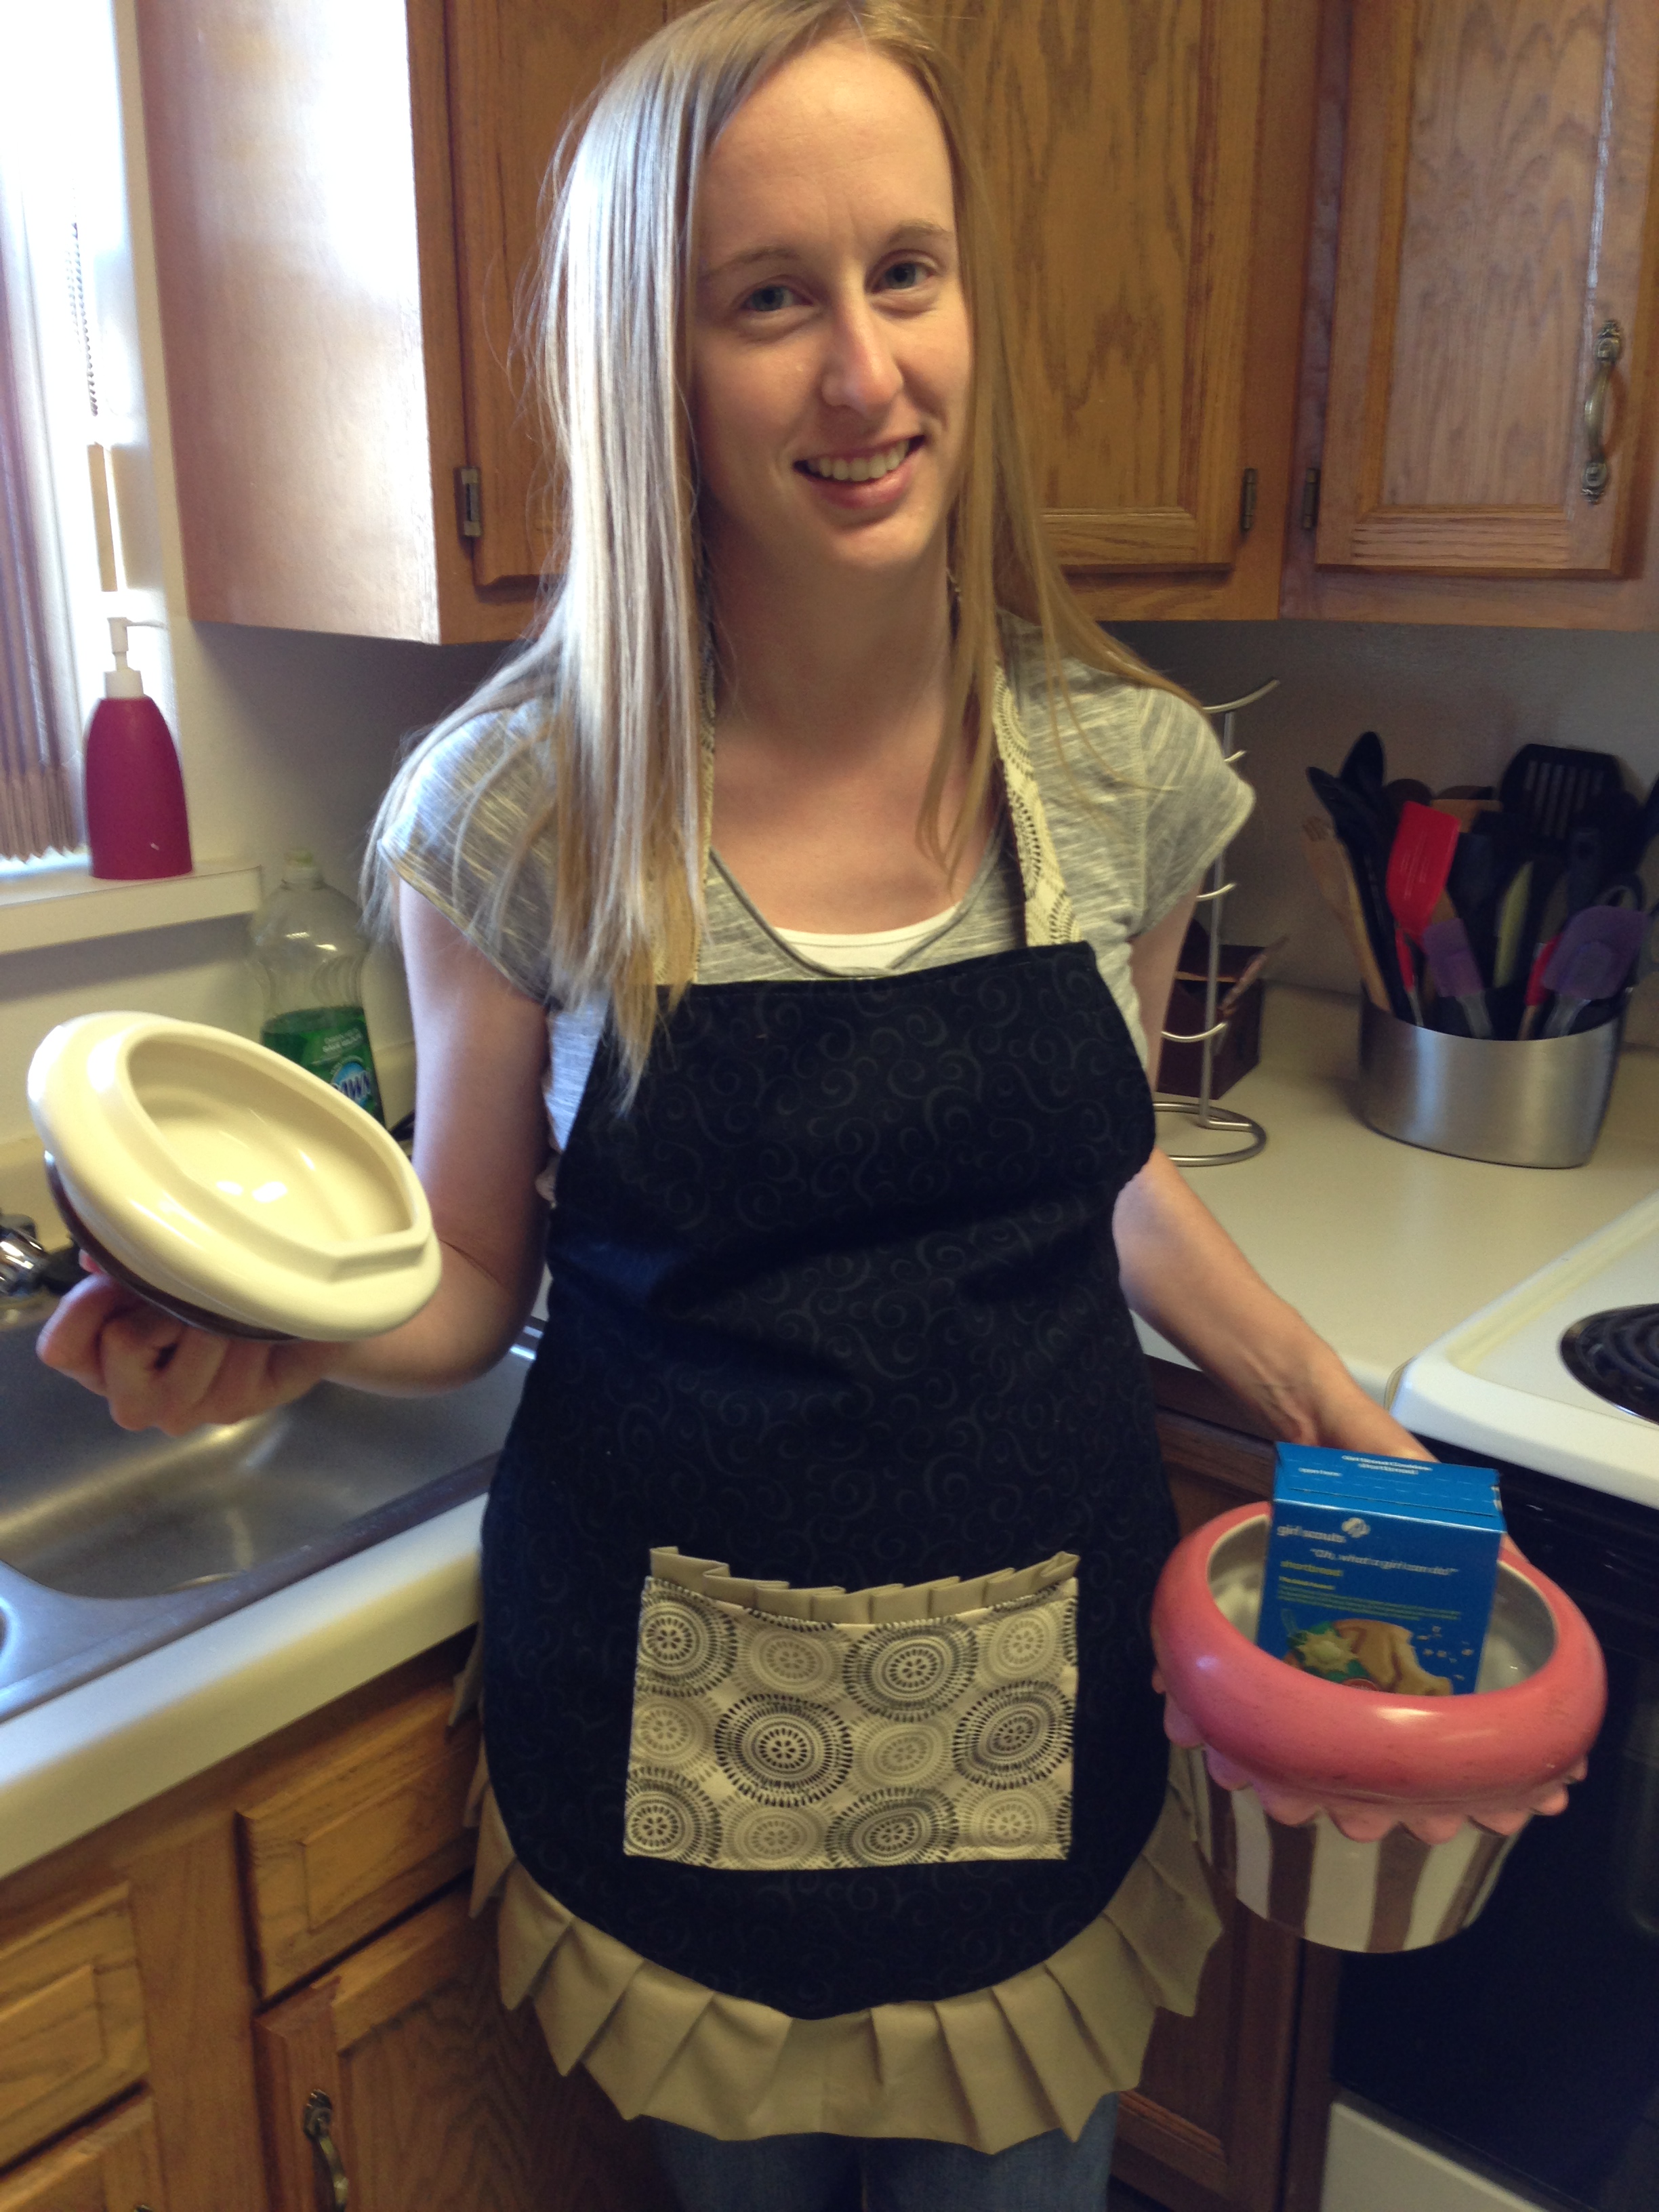
However, the cookies were devoured shortly after this photo shoot.
I actually forget to bust out the apron at times, but I certainly appreciate the times I do so that my floury and/or tomato saucy mess don’t end up all over clothes I had planned to wear the rest of the day. And so far, everything that I’ve splattered or spilled on it has washed out, so it looks just like new—aside from a few extra wrinkles.

Super cute! Well done!