I want to try and start posting more regularly, but since I don’t actually get full projects done on a regular schedule, nor do I always have time to write up a post about a completed project, I decided to try posting about my works in progress.
The posts will probably appear once or twice a month and will usually be pretty short—I plan on saving the full details for a final “project complete” post. For my inaugural WIP post, however, I actually have a lot to talk about.
This past weekend, I got together with my mom, sister-in-law, and sister for our first (annual?) sewing/quilting weekend. I’ve made a few quilts now, with only the Internet as my guide, and my mom does some quilting with the ladies at her church, but that’s the extent of our knowledge/experience.
I was unofficially put in charge of coming up with a game plan, so I had to decide on a size and a pattern for our quilt. I knew my mom had a decent stash of scrap fabrics, including a tote full of 3-inch-by-3-inch squares that she got at a rummage sale last summer. I also have a decent stash of scrap fabrics, so I wanted to find a basic pattern that would allow us to use up some of those scraps and require minimal additional fabric purchases.
I went back and forth over some pretty common, basic patterns. Then I came across this “Quilt to Give” pattern by Nancy of “Sewing with Nancy” on PBS. It’s a simple pattern that features patchy stripes surrounded by solid columns. Typically, the patchy columns would be created by sewing multiple strips of fabrics together and then cutting the strips perpendicular to the seams, but I knew we could create them by sewing several of the 3×3 squares together.
My mom, my sister, and I started by sitting down and sorting all the fabric squares based on color and pattern. (We ended up filling an entire table and counter top.) We then spent some time looking at the various piles, and ended up choosing a retro blue and green floral pattern on a brown background as our “inspiration” fabric. We then picked up any other piles of squares with coordinating colors in them to come up with an overall pattern of blue, green, brown, and orange. We also raided our stash of larger scraps for coordinating fabrics to cut down into 3×3 squares, as well as some possible solid column fabric options.
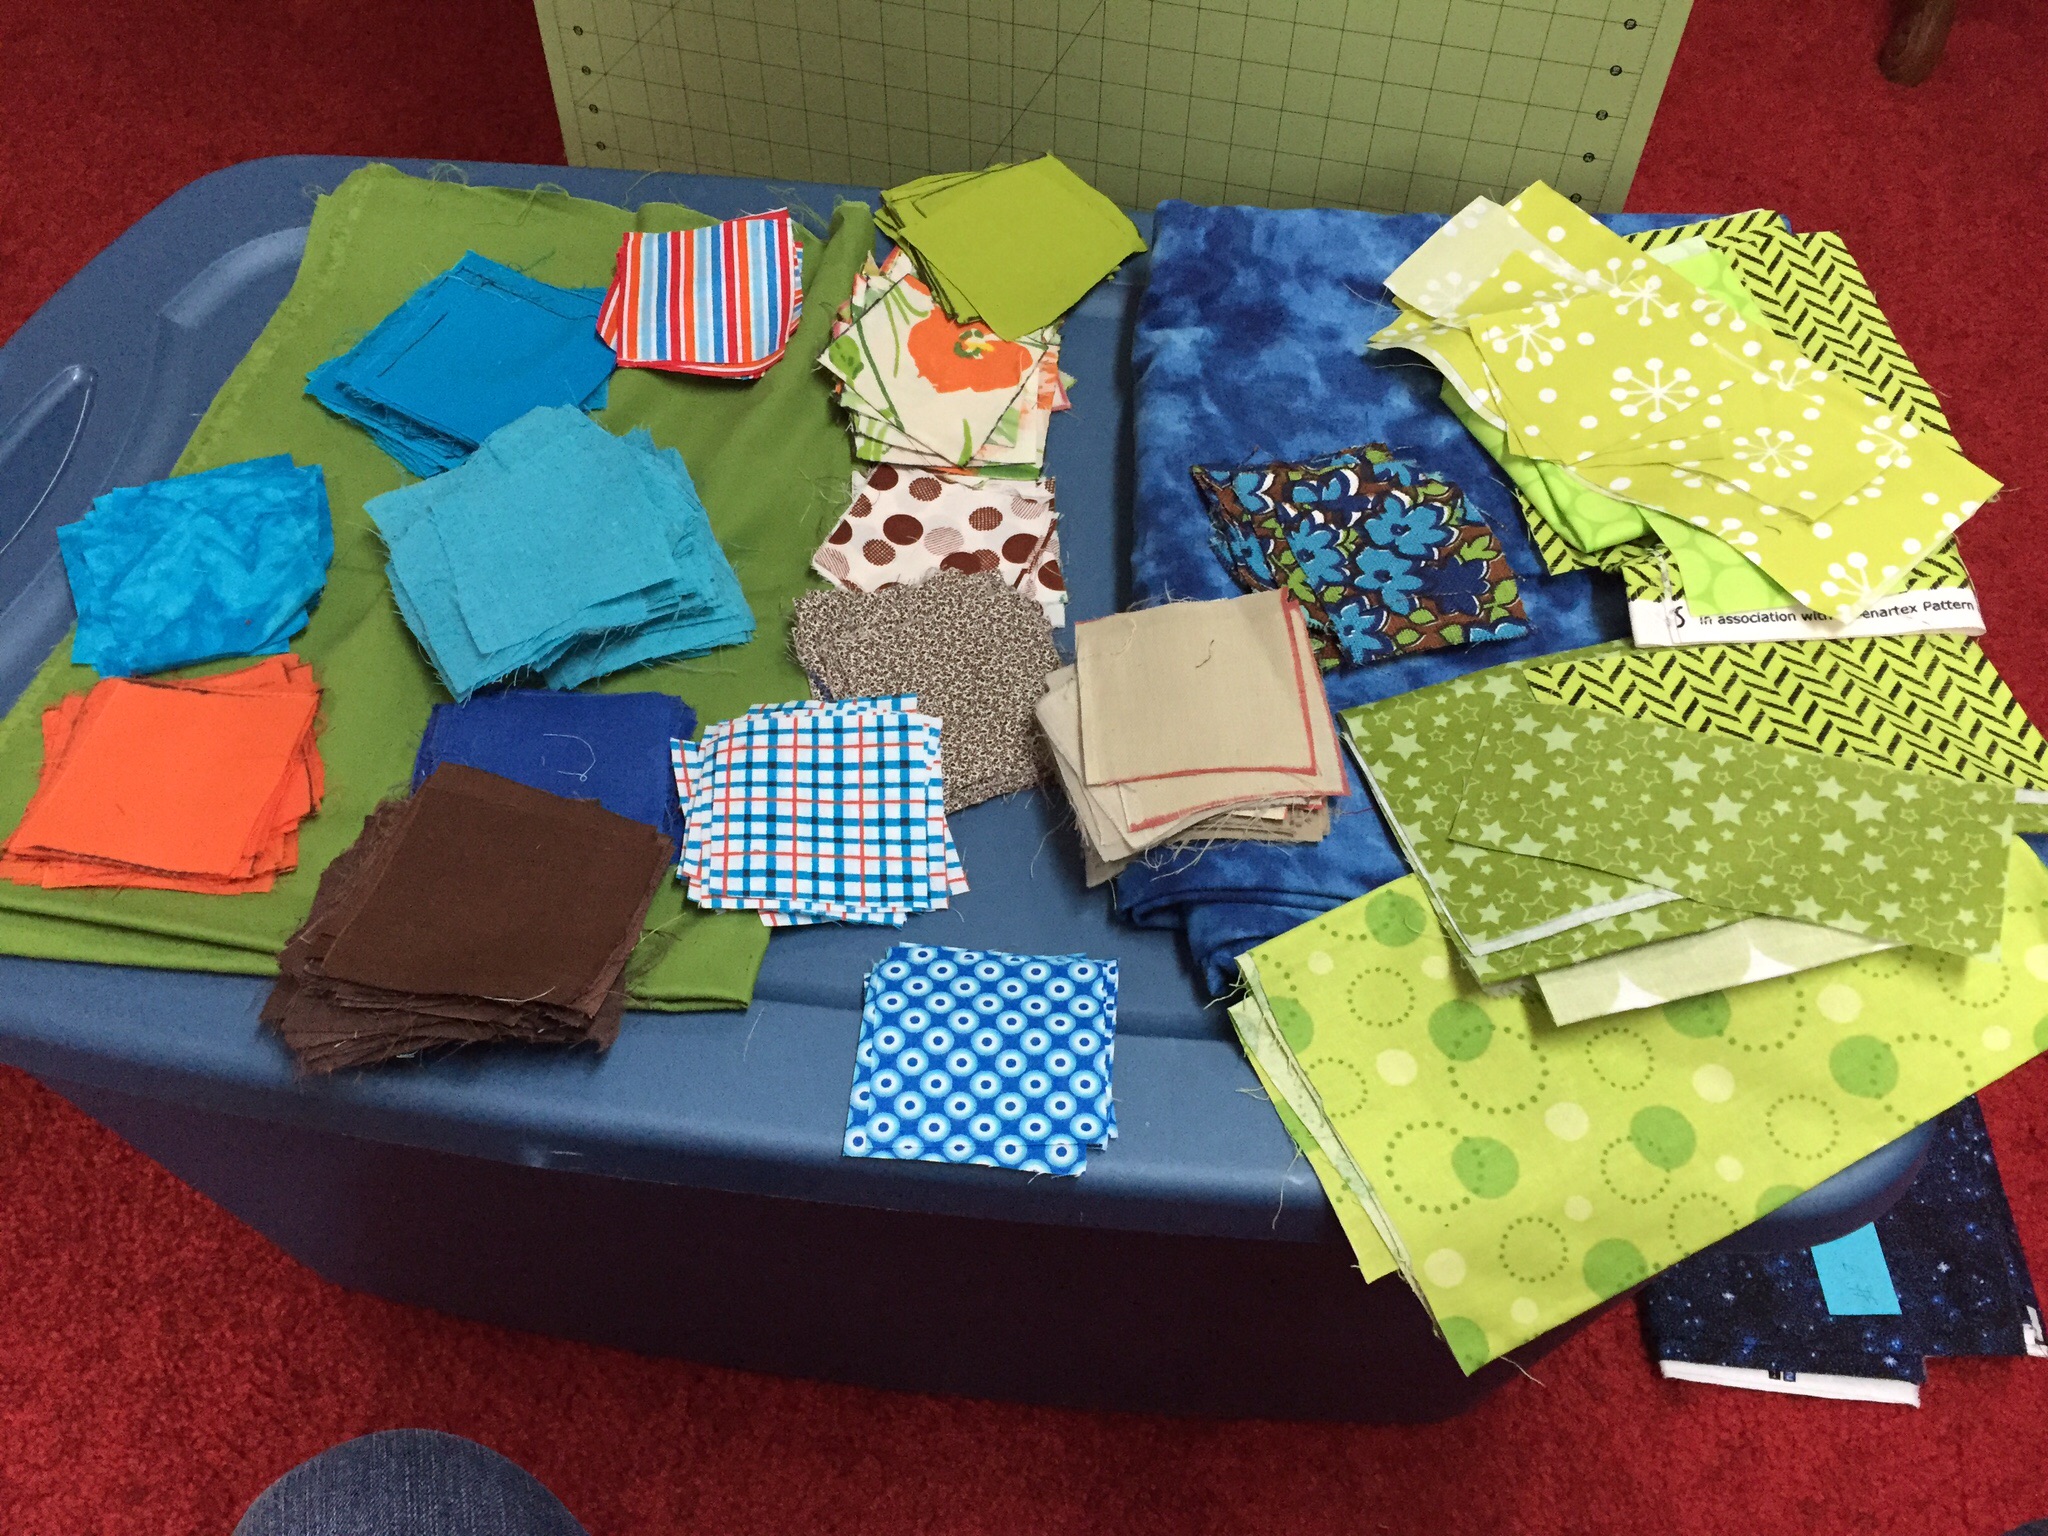
Some of our chosen fabrics.
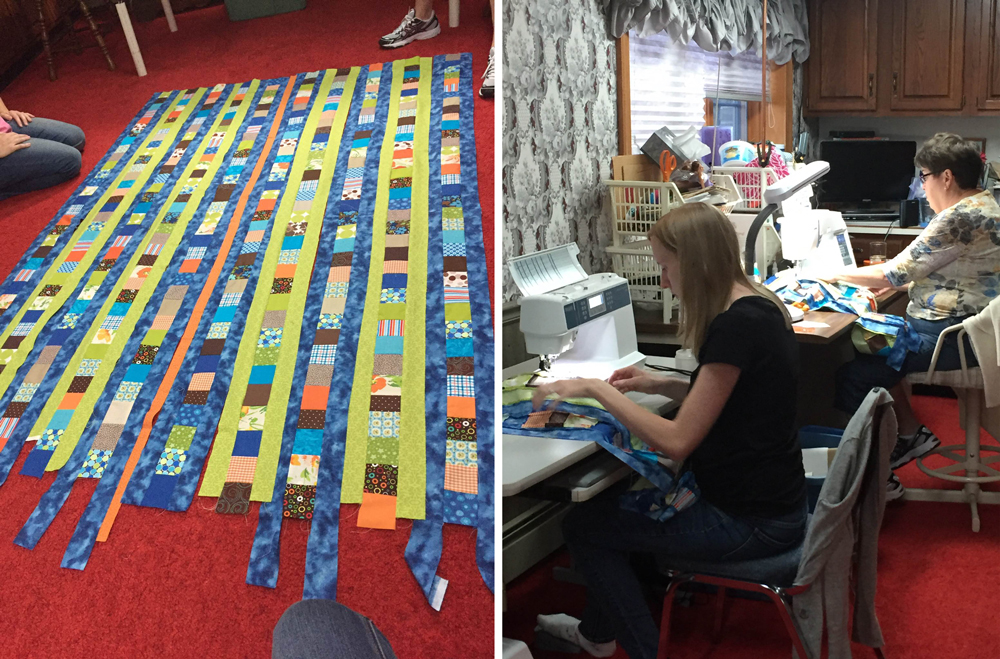
The next morning, my sister-in-law joined us, and we got to work ironing and cutting fabric. Once we thought we’d have enough squares for 10 patchy columns, we started laying them out and sewing them together.

We ended up having to cut a few more squares as we went, but we were able to use up a lot of the existing fabric squares that we had chosen. Once we had our 10 patchy columns sewn together, we took a break and went to get some lunch. While we were out, we stopped at Joann Fabric and picked up some fabric for the border, binding, and backing. We didn’t have anything in our stash in the right quantity or colors for that purpose.

Completed patchy columns with the winning solid fabric choices.
After lunch, we were able to start sewing the solid columns to each side of the patchy columns. While this doesn’t seem like a very difficult step, sewing several seams that are more than 80-inches-long takes time, even with two sewing machines.
By about 7 p.m., we finally had our quilt top assembled, including the border.

We made a quilt top!
We are in the process of planning another weekend to get together and finish the quilt. We need to layer the back, batting, and top, pin the layers together, quilt the whole thing, and then do the binding. While I am usually a fan of machine quilting, we’re leaning towards hand tying this quilt so that we can all be working on it together rather than sit around and watch one person do all the work.
Our ultimate plan for the quilt is to donate it. We haven’t decided to who/what organization yet, as there are many options, but I’ve been wanting to try and make a quilt to donate for a couple of years now. This seemed like a perfect opportunity to do that.
So there you have it: My first WIP Wednesday post. Here’s a short GIF to recap everything we accomplished in just one day.

